
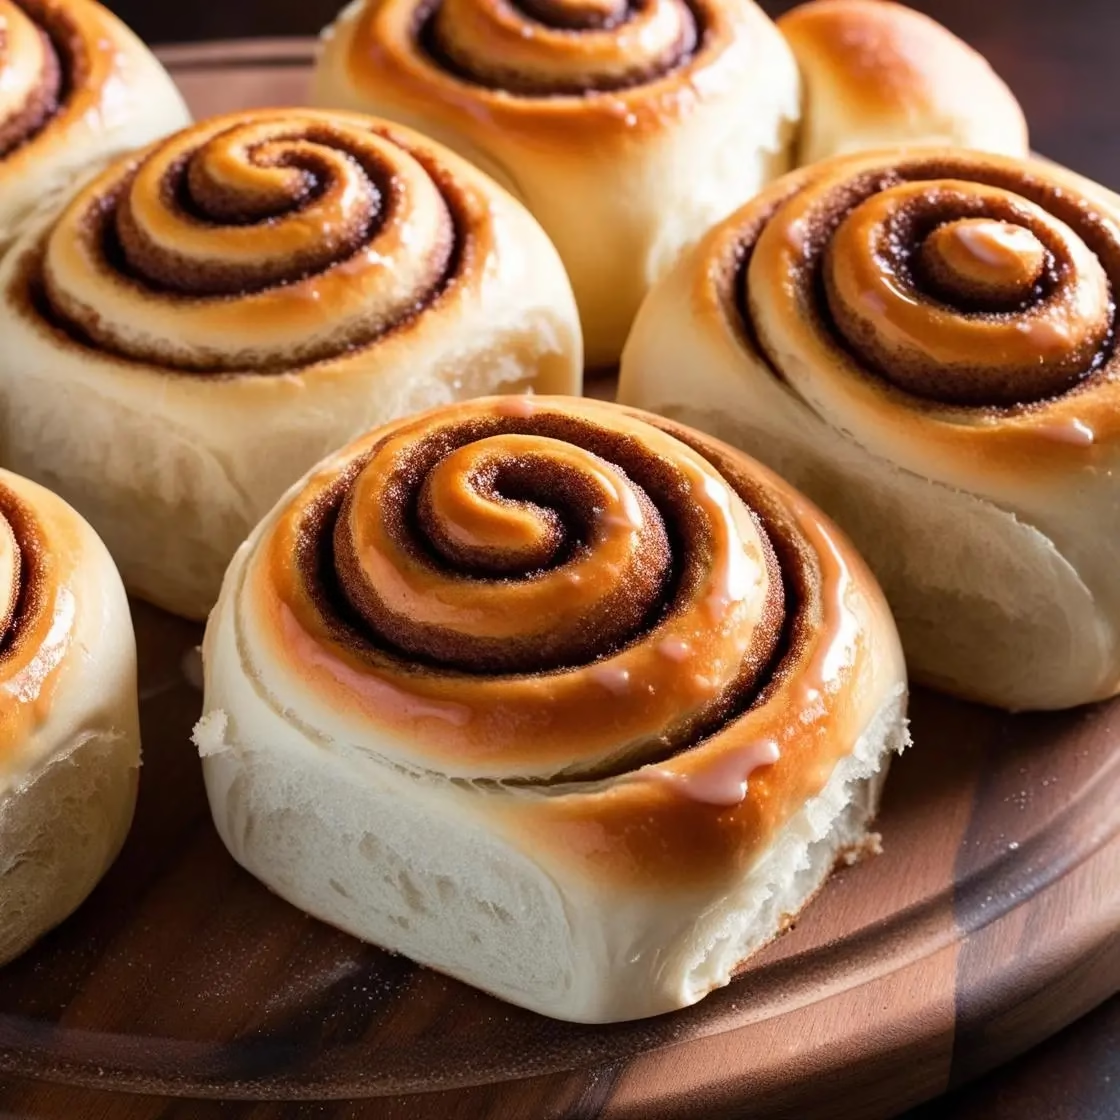
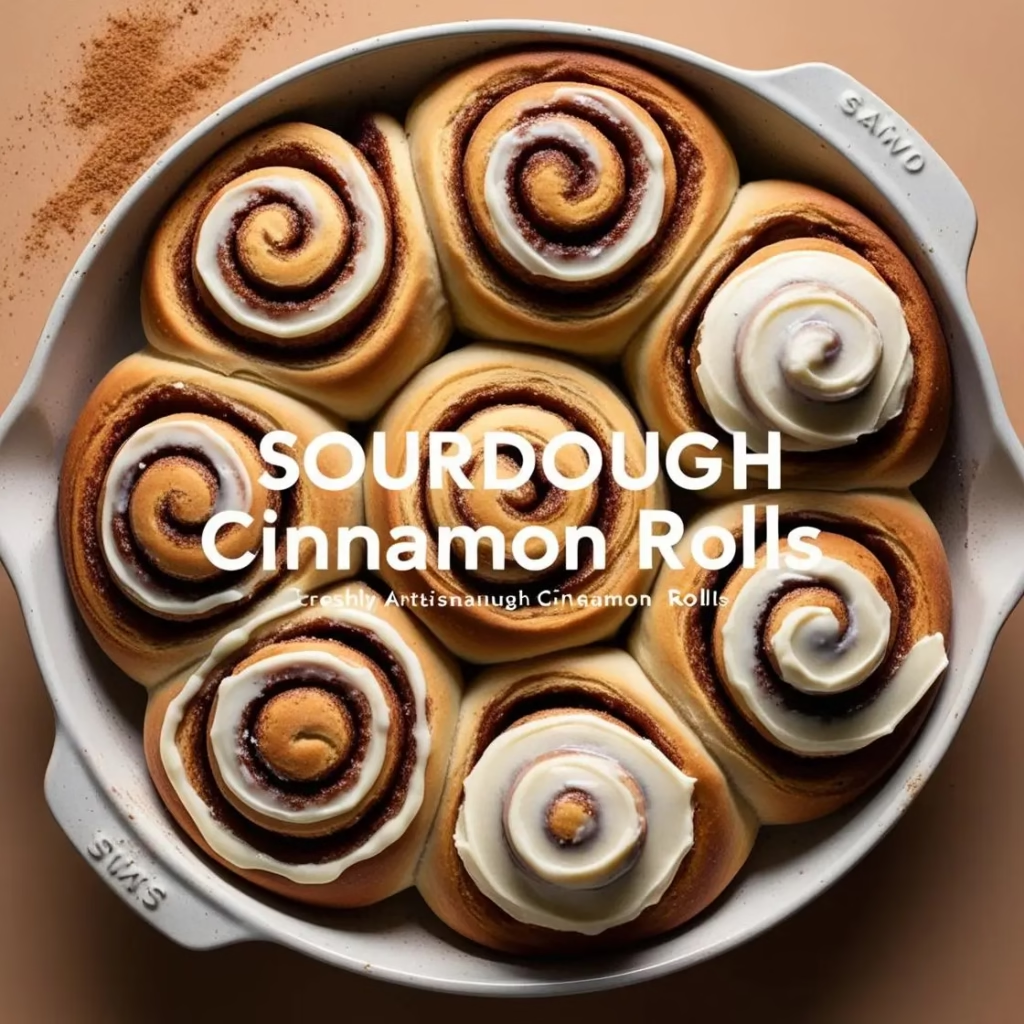
First and foremost, these Sourdough Cinnamon Rolls represent the perfect marriage between tangy sourdough bread and indulgent sweet pastry. Initially, you might think that making sourdough pastries is intimidating; however, once you master the basics, you’ll discover that the process is surprisingly straightforward. Moreover, the distinctive tang of sourdough creates a depth of flavor that, without a doubt, elevates these cinnamon rolls beyond their conventional counterparts.
In addition to their amazing taste, these rolls offer the added benefit of being more digestible than quick-rise versions. Nevertheless, they do require patience; consequently, the reward is absolutely worth the wait. Above all, when you finally pull these golden-brown treasures from the oven and, in particular, add that creamy frosting on top, you’ll understand why, in essence, sourdough cinnamon rolls have become increasingly popular among home bakers. In conclusion, whether you’re a sourdough enthusiast or simply someone looking to try something new, these rolls will undoubtedly become a cherished addition to your baking repertoire.
Table of Conent
- What Makes Sourdough Cinnamon Rolls Unique?
- Ingredients You’ll Need for Sourdough Cinnamon Rolls
- Step-by-Step Guide to Making Sourdough Cinnamon Rolls
- Tips for Perfect Sourdough Cinnamon Rolls
- Serving and Storing Your Sourdough Cinnamon Rolls
- Nutrition Information
- Other Recipe to Try
What Makes Sourdough Cinnamon Rolls Unique?
Unlike traditional cinnamon rolls made with commercial yeast, sourdough cinnamon rolls have several distinctive qualities that make them special:
- Complex Flavor Profile: The natural fermentation process creates a subtle tangy flavor that beautifully balances the sweetness of the filling and frosting.
- Better Texture: The long fermentation breaks down proteins in the flour, resulting in a more tender crumb and chewier texture.
- Improved Digestibility: Many people find sourdough easier to digest than quick-rise breads because the fermentation process breaks down gluten and phytic acid.
- Longer Shelf Life: The acidic nature of sourdough naturally preserves the rolls, keeping them fresh longer than conventional rolls.
- No Commercial Yeast Required: These rolls rely entirely on wild yeast from your sourdough starter, connecting you to an ancient baking tradition.
- More Nutritious: The fermentation process makes minerals and nutrients in the flour more bioavailable.
Ingredients You’ll Need for Sourdough Cinnamon Rolls
For the Dough:
- 150g (3/4 cup) active sourdough starter (100% hydration)
- 240ml (1 cup) whole milk, lukewarm
- 114g (1/2 cup) unsalted butter, melted and cooled
- 2 large eggs, room temperature
- 100g (1/2 cup) granulated sugar
- 2 tsp vanilla extract
- 1/2 tsp salt
- 525-600g (4 1/2 to 5 cups) all-purpose flour
For the Filling:
- 170g (3/4 cup) unsalted butter, softened
- 200g (1 cup) packed brown sugar
- 2 tbsp ground cinnamon
- 1 tsp ground nutmeg (optional)
- Pinch of salt
For the Cream Cheese Frosting:
- 225g (8 oz) cream cheese, softened
- 57g (1/4 cup) unsalted butter, softened
- 240g (2 cups) powdered sugar, sifted
- 1 tsp vanilla extract
- 1-2 tbsp milk or cream (if needed for consistency)
First and foremost, you’ll need an active sourdough starter as the foundation; meanwhile, gather high-quality bread flour and, in addition, some all-purpose flour for the perfect texture balance. Furthermore, you’ll require unsalted butter not only for the dough but also for the filling; consequently, make sure it’s at room temperature for easy spreading. Moreover, brown sugar combines with cinnamon to create the signature swirls; subsequently, you’ll fold these flavors into each layer. Additionally, eggs and milk contribute richness; nevertheless, you can substitute plant-based alternatives if desired. Finally, for the cream cheese frosting on top, you’ll need, of course, cream cheese as well as powdered sugar and, above all, a splash of vanilla extract to tie all the flavors together.Réessayer

Step-by-Step Guide to Making Sourdough Cinnamon Rolls
Day 1: Make the Dough
- Mix wet ingredients: In a large bowl, combine the active sourdough starter, lukewarm milk, melted butter, eggs, sugar, and vanilla. Whisk until well mixed.
- Add dry ingredients: Add the salt and 525g (4 1/2 cups) of flour to the bowl. Mix with a wooden spoon until a shaggy dough forms.
- Knead: Turn the dough onto a lightly floured surface and knead for 8-10 minutes until smooth and elastic, adding the remaining flour only if the dough is too sticky to work with. The dough should be soft and slightly tacky but not sticky.
- First rise: Place the dough in a lightly greased bowl, cover with plastic wrap or a damp cloth, and let rise in a warm spot for 4-6 hours, or until nearly doubled in size. (The rise time will depend on the temperature and the strength of your starter.)
- Refrigerate: After the first rise, cover the bowl tightly and refrigerate overnight (8-12 hours).
Day 2: Shape, Proof, and Bake
- Prepare baking dish: Lightly grease a 9×13-inch baking dish or line with parchment paper.
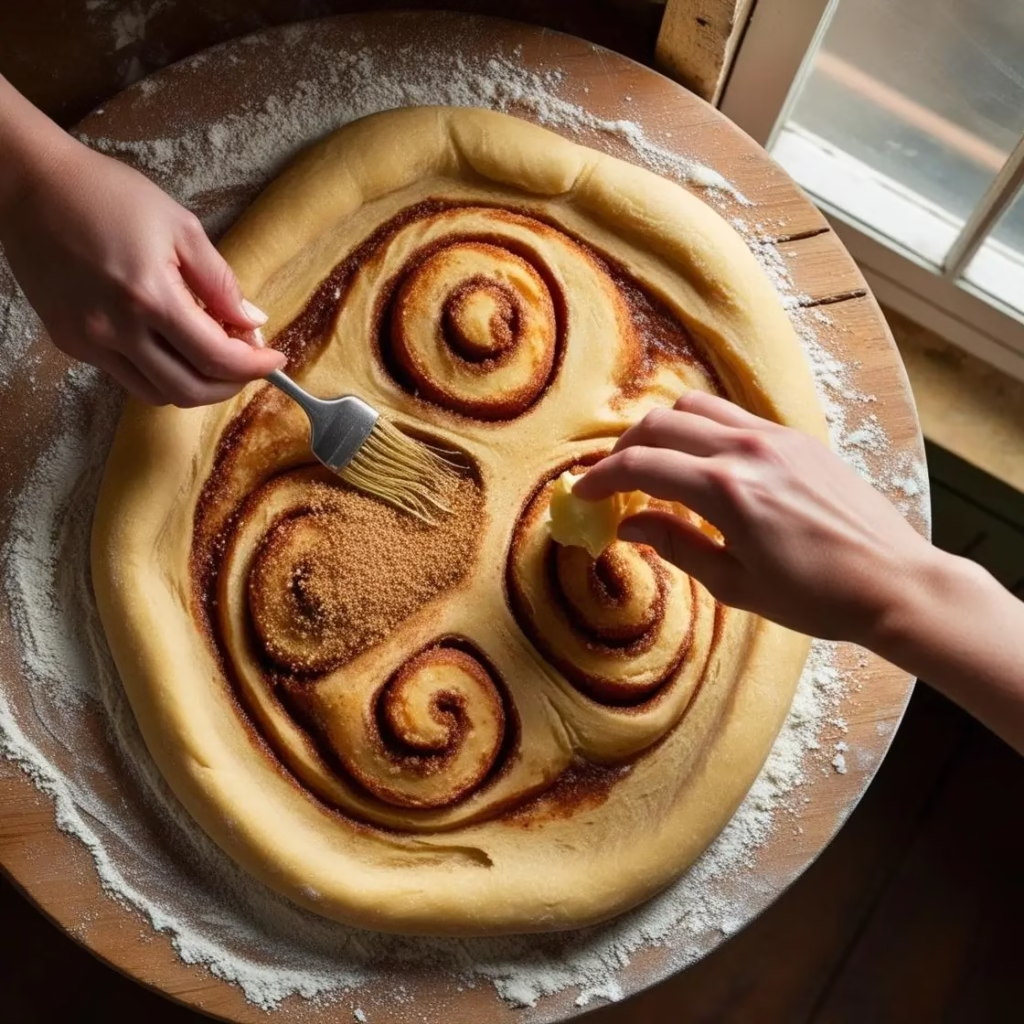
- Make the filling: In a medium bowl, mix together softened butter, brown sugar, cinnamon, nutmeg (if using), and a pinch of salt until well combined.
- Roll out dough: Remove the dough from the refrigerator. On a lightly floured surface, roll the dough into a rectangle approximately 18×14 inches.
- Add filling: Spread the cinnamon-sugar mixture evenly over the dough, leaving a 1/2-inch border along one long edge.
- Roll and cut: Starting from the long edge without the border, tightly roll the dough into a log. Using a sharp knife or unflavored dental floss, cut the log into 12 equal pieces.
- Second rise: Place the rolls in the prepared baking dish, spacing them evenly. Cover with plastic wrap or a clean kitchen towel and let rise in a warm spot for 1-2 hours, or until puffy and nearly doubled.
- Preheat oven: When the rolls are almost done rising, preheat your oven to 350°F (175°C).
- Bake: Bake the rolls for 25-30 minutes, until golden brown on top. If they’re browning too quickly, tent with aluminum foil.
- Make frosting: While the rolls are baking, beat cream cheese and butter until smooth. Add powdered sugar and vanilla, beating until fluffy. Add milk or cream if needed to reach desired consistency.
- Frost and serve: Let the rolls cool for 10-15 minutes before spreading with cream cheese frosting. Serve warm.
Tips for Perfect Sourdough Cinnamon Rolls
- Active starter: Make sure your sourdough starter is active and bubbly before using. Feed it 8-12 hours before making the dough. A sluggish starter will result in poor rise.
- Dough consistency: The dough should be soft and slightly tacky but not sticky. Add flour gradually during kneading to achieve the right texture.
- Room temperature ingredients: Bring eggs and milk to room temperature before mixing for better incorporation.
- Don’t rush the fermentation: The long fermentation time is what gives these rolls their complex flavor. Patience is key!
- Even rolling: Try to roll the dough to a uniform thickness to ensure even baking.
- Sharp knife or floss: Use a very sharp knife or unflavored dental floss to cut the rolls cleanly without squishing them.
- Proper spacing: Place rolls about 1/2 inch apart in the baking dish – they need room to expand but should also touch slightly when fully risen.
- Watch for doneness: The rolls should reach an internal temperature of 190°F (88°C) when fully baked. If you don’t have a thermometer, look for golden brown tops and a firm center.
- Overnight rise: The long, cold fermentation in the refrigerator develops the sourdough flavor and makes the dough easier to handle.
- Make ahead: You can refrigerate the shaped, unbaked rolls for up to 24 hours. Let them come to room temperature and complete the second rise before baking.
Serving and Storing Your Sourdough Cinnamon Rolls
Serving Suggestions
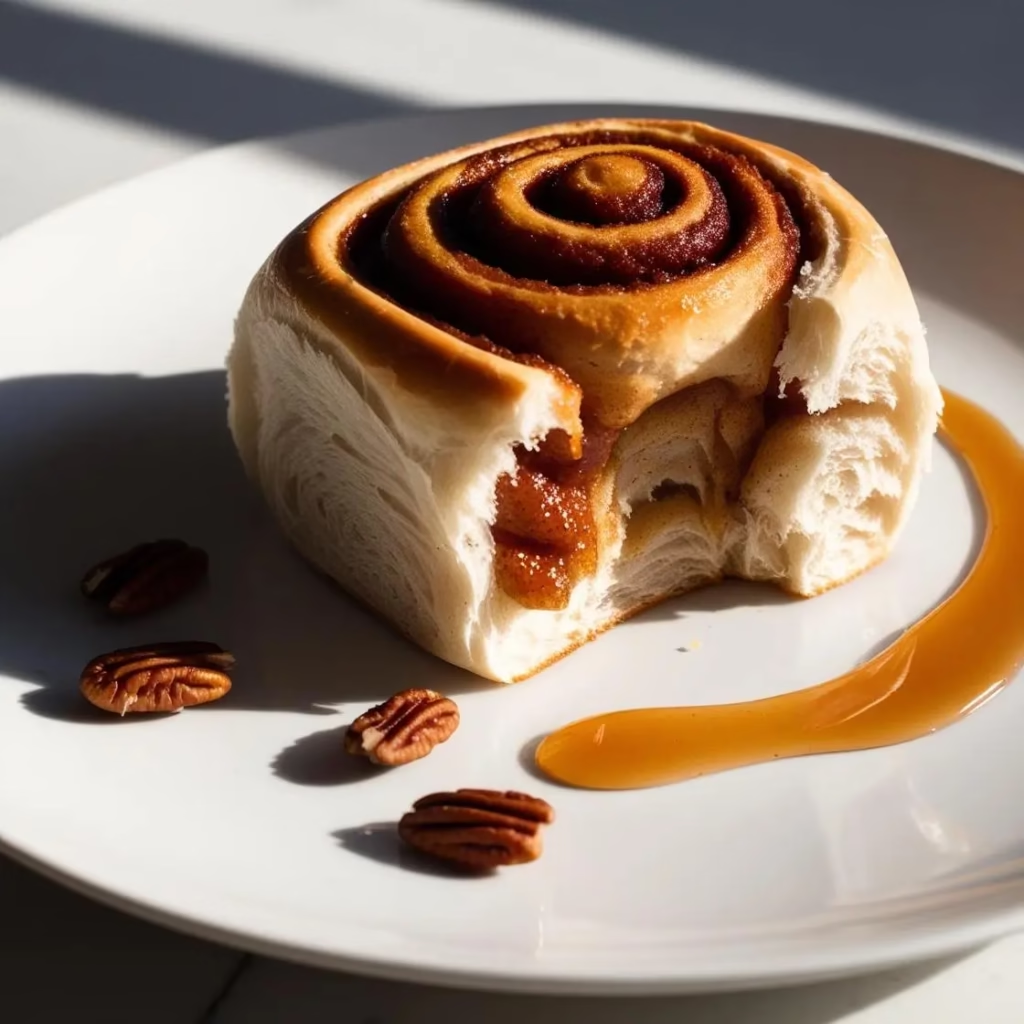
- Serve warm with additional cream cheese frosting on the side.
- Pair with fresh berries or fruit compote for a bright contrast.
- Sprinkle with chopped toasted nuts (pecans or walnuts) just before serving.
- For a special occasion breakfast, serve alongside a savory egg dish and fresh fruit.
Storage
- Room temperature: Store in an airtight container for up to 2 days.
- Refrigerator: Keep refrigerated in a sealed container for up to 5 days.
- Freezer: Baked rolls (unfrosted) can be frozen for up to 3 months. Wrap individually in plastic wrap, then store in a freezer bag.
- Reheating: For best texture, reheat refrigerated rolls in a 300°F (150°C) oven for 5-7 minutes or microwave individual rolls for 15-20 seconds. Frozen rolls should be thawed overnight in the refrigerator before reheating.
- Make-ahead tip: You can prepare the rolls through the shaping stage, then refrigerate overnight and bake in the morning for fresh, warm rolls.

Nutrition Information
Per roll, with frosting (approximate):
- Calories: 485
- Total Fat: 24g
- Saturated Fat: 15g
- Trans Fat: 0g
- Unsaturated Fat: 9g
- Cholesterol: 95mg
- Sodium: 170mg
- Total Carbohydrates: 62g
- Dietary Fiber: 2g
- Sugars: 32g
- Protein: 6g
Note: Nutrition values are estimates and may vary based on specific ingredients used. Daily Value (DV) percentages based on a 2,000 calorie diet.
Other Recipe to Try
- Peach Cobbler Recipe
- Hawaiian Roll French Toast
- Condensed Milk Bread
- 4-Ingredient Banana Bread
- Pikelets
After going through this comprehensive guide, it’s clear that sourdough cinnamon rolls are more than just a sweet breakfast treat—they’re a labor of love that rewards you with a unique flavor profile and texture. The tangy yet sweet flavor from the sourdough starter, combined with the cinnamon-sugar filling and soft, fluffy dough, makes these rolls an unforgettable experience. This recipe is designed to help you achieve perfect, melt-in-your-mouth rolls that are sure to impress at any occasion, whether it’s a weekend breakfast, a holiday celebration, or a simple afternoon snack.
So, what are you waiting for? It’s time to roll up your sleeves and start baking! Try this sourdough cinnamon rolls recipe today and treat yourself to the perfect combination of sweet and tangy in every bite. Whether you’re making them for a special occasion or simply as a weekend indulgence, these cinnamon rolls will surely become a favorite in your baking repertoire. Don’t forget to share your baking journey in the comments—we can’t wait to see how your rolls turn out!

How to Make the Best Sourdough Cinnamon Rolls: A Step-by-Step Recipe
Ingredients
For the Dough:
For the Cinnamon Filling:
For the Cream Cheese Frosting:
Instructions
- In a large bowl or stand mixer, combine the sourdough starter, warm milk, egg, sugar, and butter.
- Add flour and salt. Mix until a sticky dough forms.
- Knead for 6–8 minutes until smooth and slightly tacky.
- Cover and let rest at room temperature for 8–12 hours (overnight) until doubled in size.
- Turn the dough onto a lightly floured surface.
- Roll into a 12×16 inch rectangle.
- Mix brown sugar and cinnamon. Spread butter over the dough, then sprinkle the cinnamon sugar mixture evenly.
- Roll up the dough tightly from the long side.
- Slice into 9–12 rolls and place in a greased 9×13 inch baking dish.
- Cover and let rise for 1–2 hours, or until puffy.
- Preheat oven to 375°F (190°C).
- Bake rolls for 25–30 minutes, or until golden brown and cooked through.
- Let cool for 10–15 minutes.
- Beat cream cheese and butter until smooth.
- Add powdered sugar, vanilla, and salt. Mix until creamy.
- Spread frosting over warm (not hot) rolls.
- Enjoy fresh!
Mix the Dough (Evening Before)
Roll and Fill (Morning Of)
Shape and Proof
Bake
Make the Frosting
Frost and Serve
Notes
- Active starter: Make sure your sourdough starter is active and bubbly before using. Feed it 8-12 hours before making the dough. A sluggish starter will result in poor rise.
Dough consistency: The dough should be soft and slightly tacky but not sticky. Add flour gradually during kneading to achieve the right texture.
Room temperature ingredients: Bring eggs and milk to room temperature before mixing for better incorporation.