

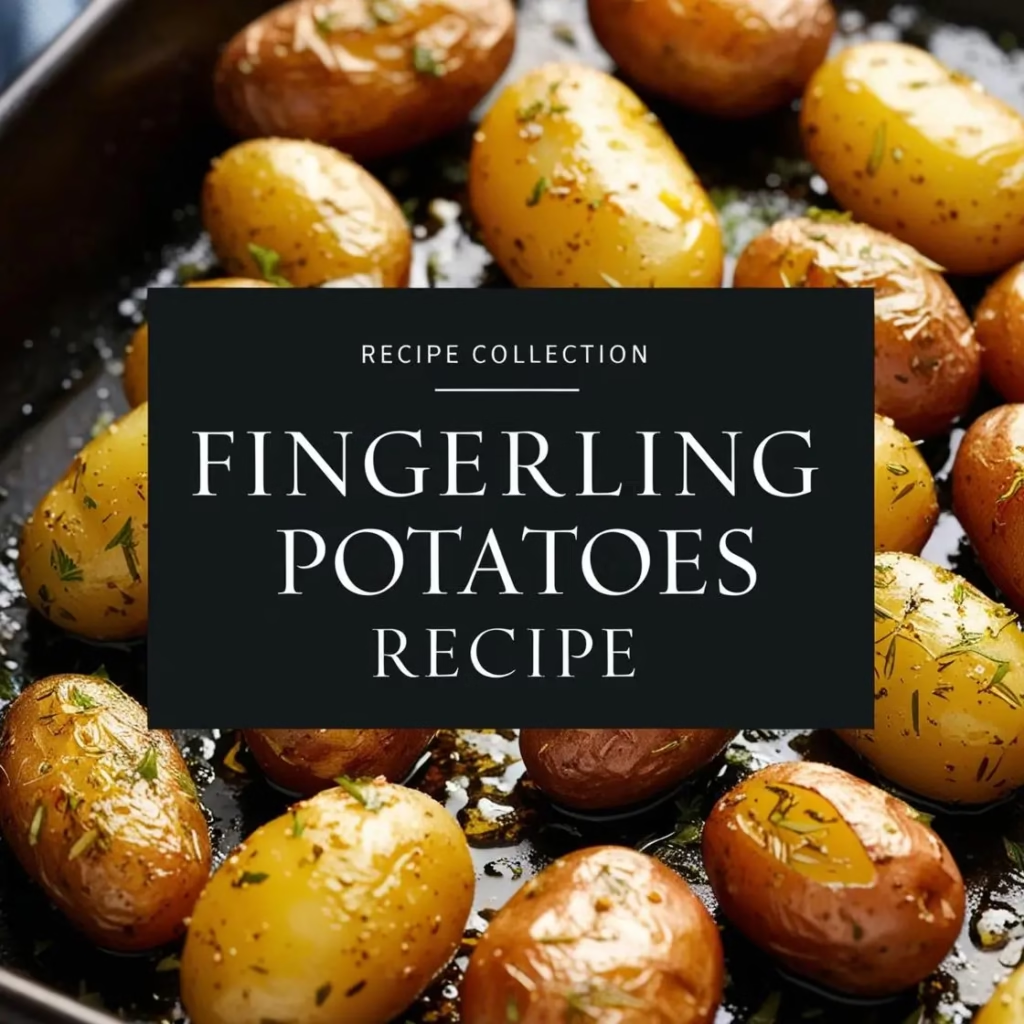
Fingerling potato have become increasingly popular among home cooks seeking versatile and flavorful side dishes. These small, elongated potatoes offer a unique texture and taste that sets them apart from traditional varieties.
Whether you’re searching for the perfect fingerling potatoes recipe for a family dinner or exploring various fingerling potatoes recipes for entertaining, these petite spuds deliver exceptional results. Most importantly, cooking fingerling potatoes properly can transform them into crispy fingerling potatoes that provide a delightful contrast of textures – tender on the inside while perfectly golden and crunchy on the outside.
Furthermore, baked fingerling potatoes represent one of the most straightforward yet impressive ways to showcase these distinctive potatoes, making them an ideal choice for both novice and experienced cooks alike.
Table of Content
- What You'll Need
- how to make crispy fingerling potatoes
- The Secrets to Truly Exceptional Fingerling Potatoes
- Serving Suggestions
- Final Thoughts
- Frequently Asked Questions About Fingerling Potatoes
- What makes crispy fingerling potatoes different from regular roasted potatoes?
- What's the best fingerling potatoes recipe for beginners?
- Where can I find reliable fingerling potatoes recipes online?
- Do I need to peel fingerling potatoes before cooking?
- How long should I bake fingerling potatoes?
- Can fingerling potatoes be prepared ahead of time?
- What seasonings work best with fingerling potatoes?
- Perfect Topping Combinations
- Nutrition Information
What You’ll Need
The beauty of this fingerling potatoes recipe lies in its simplicity. You don’t need a pantry full of exotic ingredients to create something spectacular.
Main Ingredients:
- 1½ pounds fresh potatoes
- 3 tablespoons unsalted butter (or high-quality olive oil for a dairy-free option)
- ¾ teaspoon kosher salt
- ½ teaspoon freshly ground black pepper
- ½ teaspoon garlic powder (not fresh garlic—more on this crucial distinction later)
- 1 teaspoon Italian seasoning (alternatives: dried parsley, dried oregano, or Provencal herbs work beautifully too)
- ½ teaspoon paprika (substitute ¼ teaspoon with chili powder if you prefer some heat)
Optional Garnishes:
- Fresh parsley, finely chopped
- Flaky sea salt
Equipment:
- Dark-colored sheet pan (this makes a significant difference in achieving that perfect crisp)
- Sharp knife
how to make crispy fingerling potatoes
Follow these steps carefully, and I promise you’ll achieve fingerling potato perfection every single time.
1. Preparation Is Key
Preheat your oven to 425°F (220°C). This high temperature is essential for achieving that beautiful golden crust.
While the oven heats, clean your fingerling potatoes thoroughly under cool running water. Pat them completely dry with paper towels—excess moisture is the enemy of crispiness.
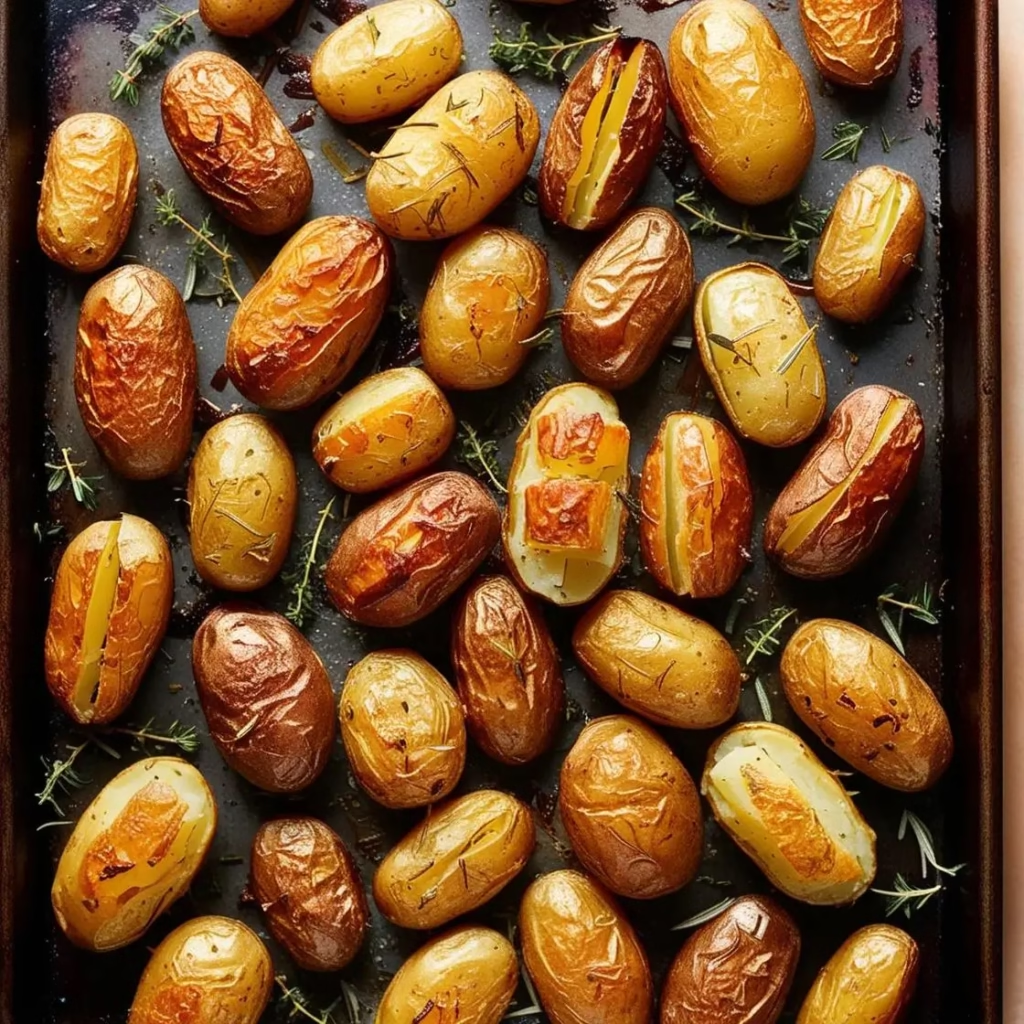
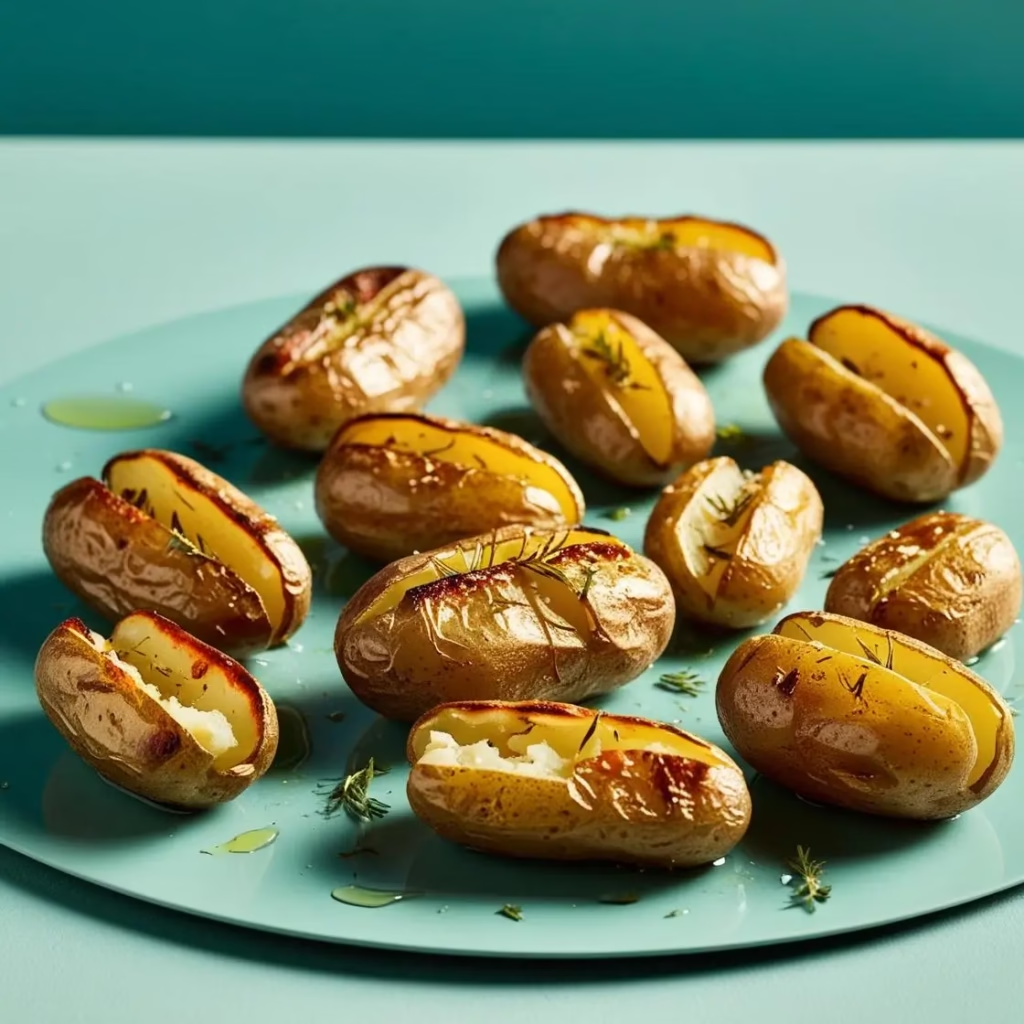
Next, slice each potato lengthwise. This not only creates more surface area for browning but also helps the potatoes cook faster and more evenly. Don’t peel them—the skin contains wonderful flavor and nutrients.
2. Season With Purpose
In a large mixing bowl, combine your dried seasonings: salt, pepper, garlic powder, paprika, and Italian seasoning. Toss your sliced potatoes in this mixture, ensuring each piece gets evenly coated.
3. The Hot Pan Technique
Here’s where my method differs dramatically from most recipes: place your empty sheet pan in the oven while it preheats. Once the oven reaches temperature, carefully remove the hot pan and immediately add your butter or oil to it. The heat will quickly melt the butter, creating a sizzling surface that’s perfect for potato crispiness.
4. The Perfect Arrangement
Working quickly but carefully, transfer your seasoned potatoes to the hot, buttered pan. This is crucial: arrange each fingerling potato cut-side down in a single layer. Don’t overcrowd the pan—each potato needs its space to develop that perfect crisp rather than steam.
5. Roast To Perfection
Return the pan to the oven and roast for 25-30 minutes, or until the potatoes develop a deeply golden bottom and can be easily pierced with a fork. The exact timing may vary slightly depending on the size of your potatoes and the particulars of your oven.
6. The Optional Broil
For those who crave maximum crispiness, switch your oven to broil for the final 2-3 minutes of cooking. This extra step caramelizes the tops of the potatoes for an additional textural dimension—just keep a close eye on them to prevent burning.
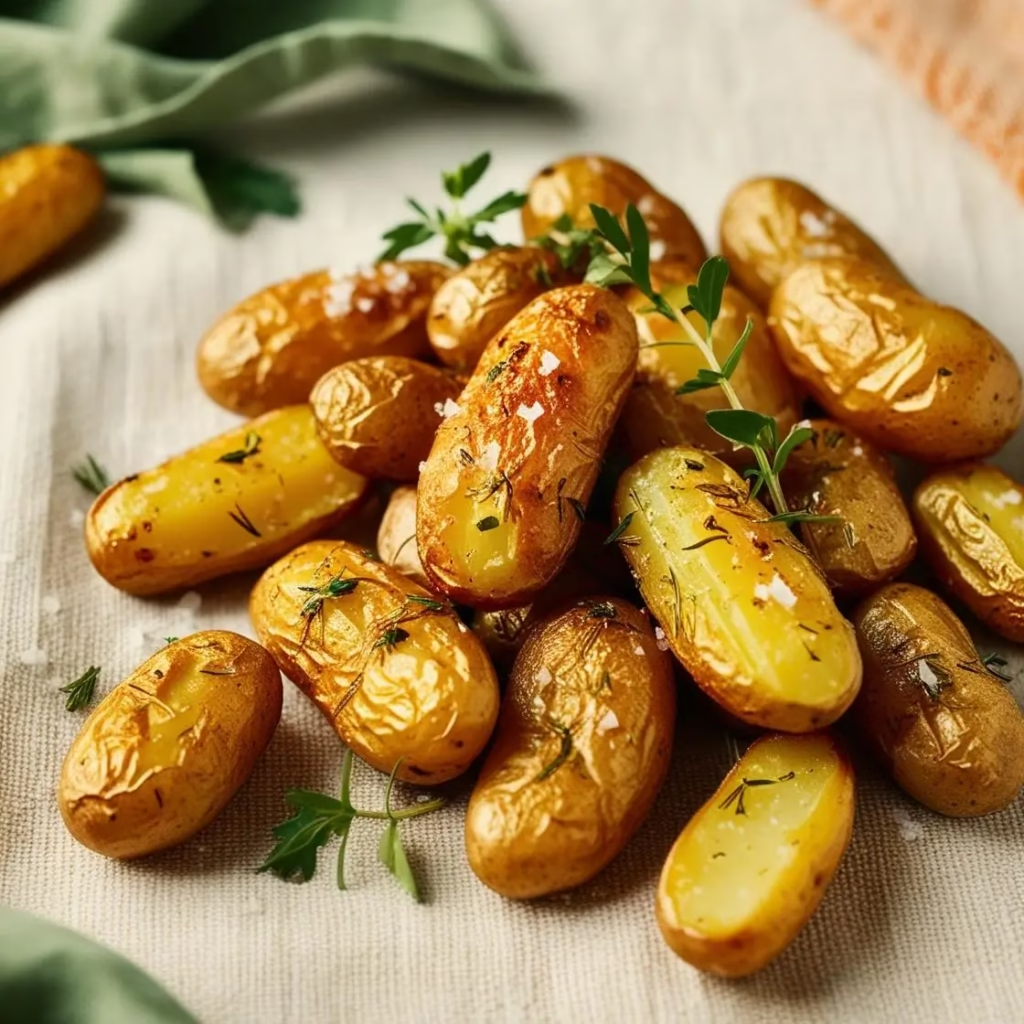
7. Final Flourish
Remove from the oven and let the potatoes rest for just a minute or two. Transfer to a serving dish, sprinkle with fresh parsley if desired, and add a light dusting of flaky sea salt to enhance the flavor. Serve immediately while piping hot for the best experience.
The Secrets to Truly Exceptional Fingerling Potatoes
After years of experimentation, I’ve identified five crucial factors that separate merely good roasted fingerling potatoes from truly exceptional ones. These insights might challenge conventional wisdom, but the results speak for themselves.
1. Skip the Parboiling
Unlike many potato recipes, I intentionally skip parboiling for fingerling potatoes. Why? Parboiling produces a different texture altogether—softer and less defined. When roasting fingerling potatoes specifically for dinner parties or holiday meals, we want that rustic, elegant appearance with distinct edges and beautiful browning. Direct roasting delivers precisely that aesthetic appeal and textural contrast.
2. Timing Your Seasonings
Here’s a critical tip: add « fun flavor things » like fresh herbs and fresh garlic after cooking, not before. Fresh garlic and herbs will burn during the long roasting process, imparting bitter flavors. That’s why I specifically use garlic powder rather than fresh garlic in the initial seasoning. Ground spices and small amounts of dried herbs can withstand the heat, but save your fresh ingredients for the finishing touch.
3. Sheet Pan Selection Matters
The type of pan you use dramatically impacts your results. A dark-colored sheet pan reflects heat better, helping potatoes achieve superior crispiness. And whatever you do, don’t line your pan with parchment paper or silicone mats—they create a barrier that prevents proper browning and can make your potatoes soggy instead of crisp. If you must use a liner (for easier cleanup), aluminum foil is the only acceptable option, though even this isn’t ideal for maximum crispiness.
4. Placement Is Everything
With fingerling potatoes specifically, placing them cut-side down makes all the difference. This flat surface makes complete contact with the hot pan, resulting in beautiful caramelization exactly where you want it. This technique is less critical with chunked potatoes, but for fingerlings, it’s non-negotiable for achieving restaurant-quality results.
5. Don’t Skimp on Fat
The proper amount of butter or oil serves two essential purposes: preventing sticking and encouraging proper crisping. Counterintuitively, too little fat can actually make your potatoes mushier rather than crispier. The fat creates the perfect medium for heat transfer and surface browning, resulting in that coveted crispy exterior.
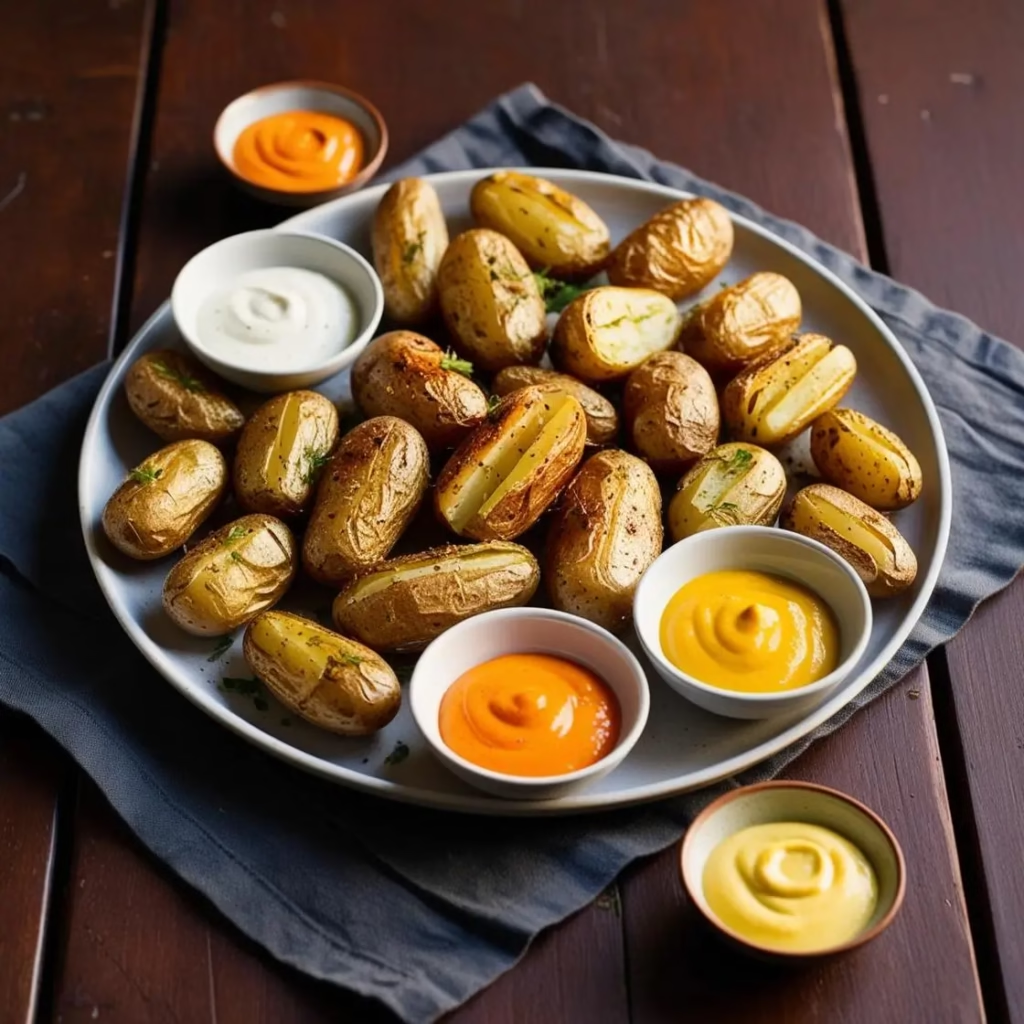
Serving Suggestions
These crispy roasted fingerling potatoes complement almost any main course, from a perfect steak to roasted chicken to grilled fish. They’re substantial enough to stand up to rich gravies and sauces, yet delicate enough to serve alongside lighter fare.
For a complete meal, pair them with a simple green salad and your protein of choice. They’re particularly wonderful alongside dishes with complementary herbs or seasonings.
The best part? This fingerling potato recipe is remarkably versatile. Once you’ve mastered the basic technique, you can customize the seasonings to match whatever cuisine you’re serving. Try rosemary and thyme for a classic French flair, or smoked paprika and oregano for a Spanish-inspired variation.
Final Thoughts
Perfecting roasted fingerling potatoes isn’t just about following a recipe—it’s about understanding the « why » behind each step. When you know the reasoning behind preheating the pan, positioning the potatoes cut-side down, and selecting dried rather than fresh garlic, you gain the confidence to create consistently outstanding results.
These golden beauties deserve a permanent place in your cooking repertoire. They’re elegant enough for special occasions yet simple enough for weeknight dinners. Follow these secrets, and I guarantee your fingerling potatoes will be the talk of the table—crispy, fluffy, and utterly irresistible every single time.
Frequently Asked Questions About Fingerling Potatoes
What makes crispy fingerling potatoes different from regular roasted potatoes?
Crispy fingerling potatoes have a unique texture due to their thin skin and creamy flesh. When properly prepared, they develop an exceptionally crispy exterior while maintaining a fluffy interior, unlike larger potatoes that may become mushy.
What’s the best fingerling potatoes recipe for beginners?
The simplest approach is baked fingerling potatoes. Cut them in half, toss with olive oil, salt, and herbs, then roast at 425°F for 25-30 minutes until golden and crispy.
Where can I find reliable fingerling potatoes recipes online?
Many cooking websites offer comprehensive fingerling potatoes recipes, ranging from basic roasted versions to gourmet preparations with various seasonings and cooking methods.
Do I need to peel fingerling potatoes before cooking?
No, the thin skin of fingerling potatoes is edible and adds texture. Simply wash them thoroughly before cooking fingerling potatoes to remove any dirt.
How long should I bake fingerling potatoes?
Baked fingerling potatoes typically take 20-30 minutes at 400-425°F, depending on their size. They’re done when they’re golden brown and easily pierced with a fork.
Can fingerling potatoes be prepared ahead of time?
Yes, you can prep fingerling potatoes by washing and cutting them several hours before cooking. However, for the crispiest results, it’s best to cook them fresh.
What seasonings work best with fingerling potatoes?
Classic combinations include rosemary and garlic, thyme and lemon, or simply salt and pepper. The mild flavor of fingerling potatoes pairs well with both herbs and bold spices.
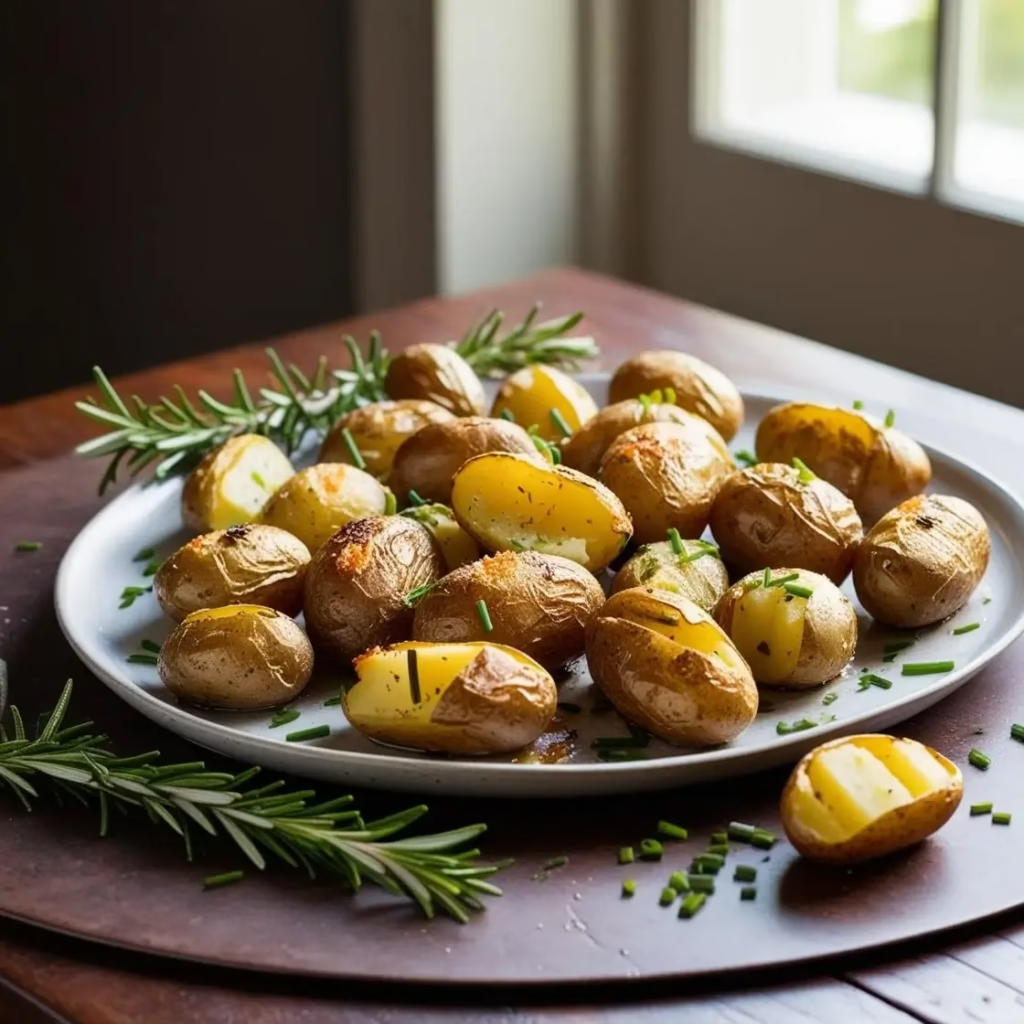
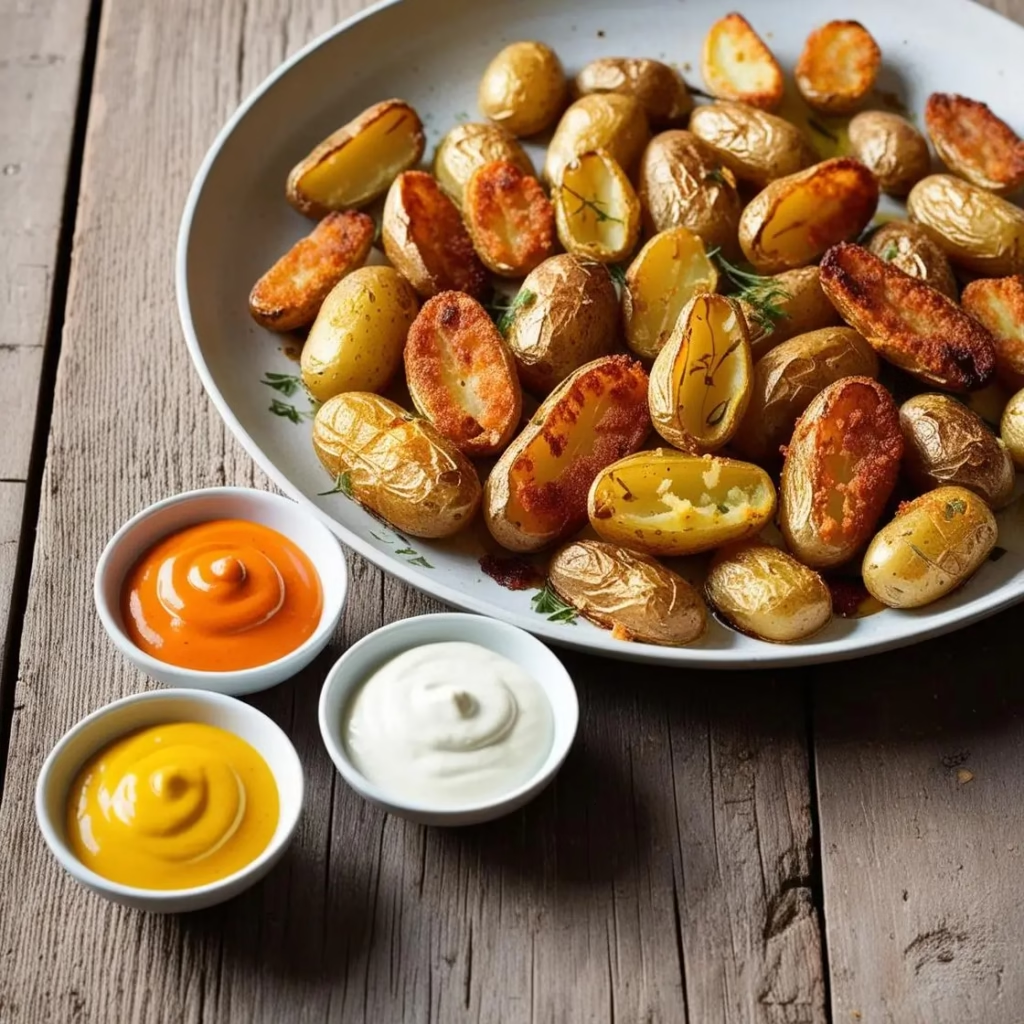
Perfect Topping Combinations
Some recipe to complete this dish :
Nutrition Information
(Approximate per serving, based on 6 servings)
- Calories: 145
- Fat: 6g
- Saturated Fat: 3.5g (if using butter)
- Carbohydrates: 20g
- Fiber: 2g
- Protein: 2g
- Sodium: 295mg
In conclusion, mastering the art of preparing fingerling potatoes opens up a world of culinary possibilities for any home kitchen. Throughout this exploration of fingerling potatoes recipes, we’ve discovered how these versatile vegetables can be transformed into restaurant-quality dishes with minimal effort.
Additionally, the techniques for creating crispy fingerling potatoes ensure that every bite delivers the perfect balance of flavors and textures. As we’ve seen, cooking fingerling potatoes doesn’t require complex methods – rather, simple approaches like baked fingerling potatoes often yield the most satisfying results.
Ultimately, whether you’re following a single fingerling potatoes recipe or experimenting with multiple variations, these remarkable potatoes will undoubtedly become a staple in your culinary repertoire, bringing both elegance and comfort to your dining table.

Crispy Fingerling Potato : Secrets for Perfect Results Every Time
Description
These restaurant-quality roasted fingerling potatoes feature a perfectly crispy exterior and fluffy interior. The secret lies in the preparation method and cooking technique, resulting in an elegant side dish that’s always a showstopper at family dinners and special occasions.
Ingredients
Instructions
- Preheat oven & pan: Place your empty baking sheet in the oven and preheat to 425°F (220°C).
- Prepare potatoes: While the oven heats, thoroughly wash fingerling potatoes and pat completely dry with paper towels. Slice each potato lengthwise down the middle.
- Season potatoes: In a large bowl, combine salt, pepper, garlic powder, paprika, and Italian seasoning. Add the sliced potatoes and toss until evenly coated with the spice mixture.
- Prepare hot pan: When the oven reaches temperature, carefully remove the hot baking sheet. Immediately add butter or oil, which will sizzle and melt quickly.
- Arrange potatoes: Working quickly but carefully, transfer the seasoned potatoes to the hot, buttered pan, arranging them in a single layer with the cut side facing down. Ensure potatoes aren’t overcrowded.
- Roast: Return the pan to the oven and roast for 25-30 minutes, until the bottoms are deeply golden and potatoes are fork-tender.
- Optional broil: For extra crispiness, switch oven to broil for the final 2-3 minutes of cooking. Watch carefully to prevent burning.
- Serve: Remove from oven, let rest for 1-2 minutes. Transfer to a serving dish, sprinkle with fresh parsley and a light dusting of flaky sea salt if desired. Serve immediately while hot.
Notes
- Pan choice matters: A dark-colored sheet pan creates the best crispy exterior. Never use parchment paper or silicone mats which prevent proper browning.
Potato positioning: Always place fingerling potatoes cut-side down for maximum browning and best texture contrast.
Variations: Baby potatoes can substitute for fingerling potatoes. For different flavor profiles, try rosemary and thyme for a French touch, or smoked paprika and oregano for Spanish influence.
Fat is your friend: Don’t reduce the butter/oil amount – it’s essential for preventing sticking and achieving the ideal crispy texture.
mai 1, 2025 at 3:31 pm[…] Crispy Fingerling Potato […]