
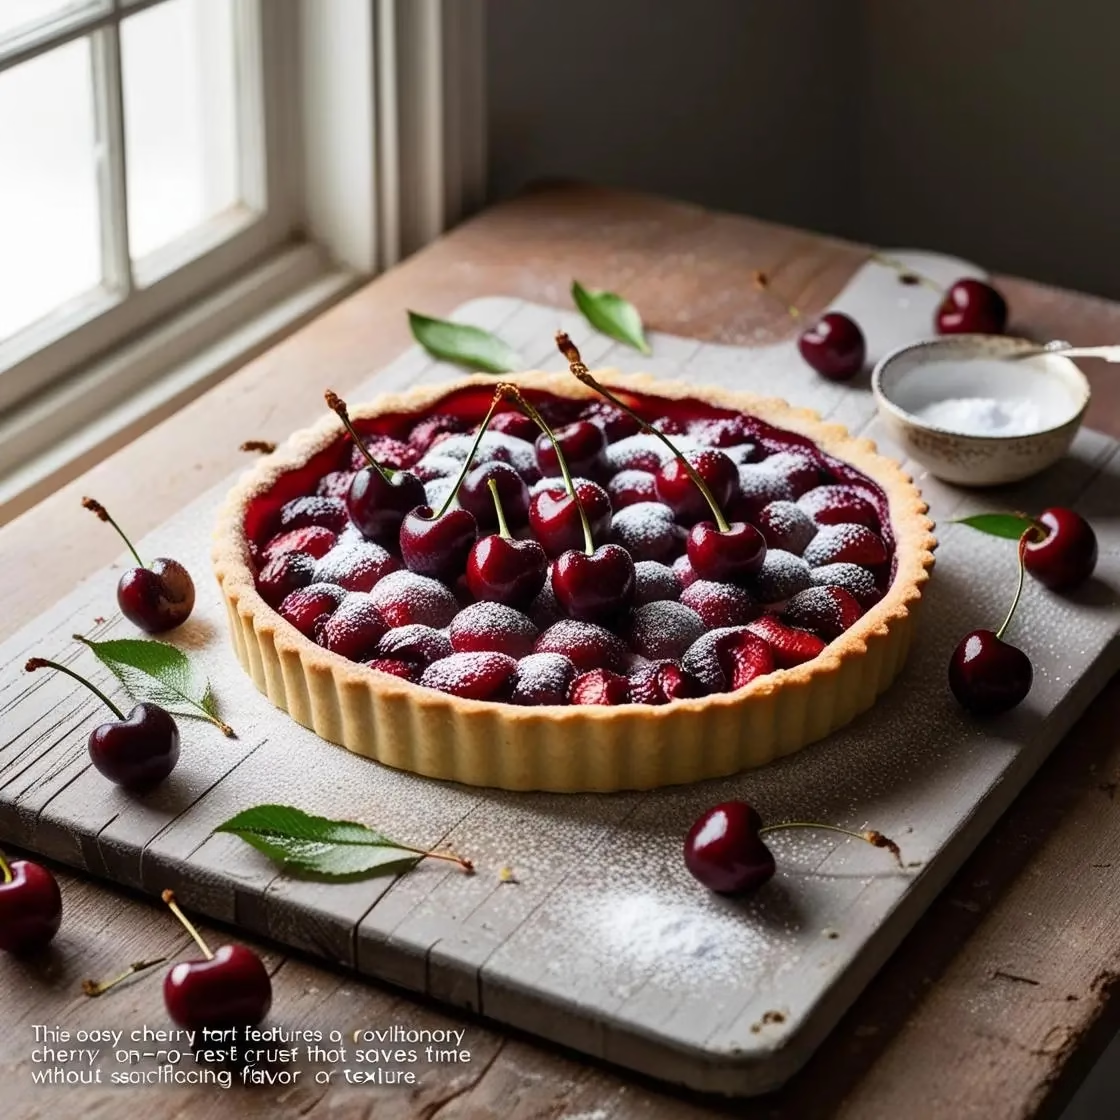
There’s something undeniably charming about a homemade cherry tart gracing your dessert table. Many bakers, however, shy away from tart-making, intimidated by the traditional pastry process with its chilling times and delicate rolling. I’m here to change that narrative with what might become your new favorite cherry tart recipe—featuring a revolutionary no-rest crust method and a velvety vanilla custard filling that will make you wonder why you ever hesitated.
This recipe came to me through an old family cookbook, tucked between pages of well-loved recipes. Over the years, I’ve adapted it to strike that perfect balance between simplicity and sophistication—ideal for both novice bakers and seasoned pastry enthusiasts pressed for time.
Table of Conten
- Why You'll Love This Cherry Tart Recipe
- Key Ingredients
- Equipment Needed
- Step by Step Cherry Tart Recipe (Instruction)
- Variations & Substitutions
- Essential Tips for Perfect Results
- Frequently Asked Questions
- Other recipe you will liked
Why You’ll Love This Cherry Tart Recipe
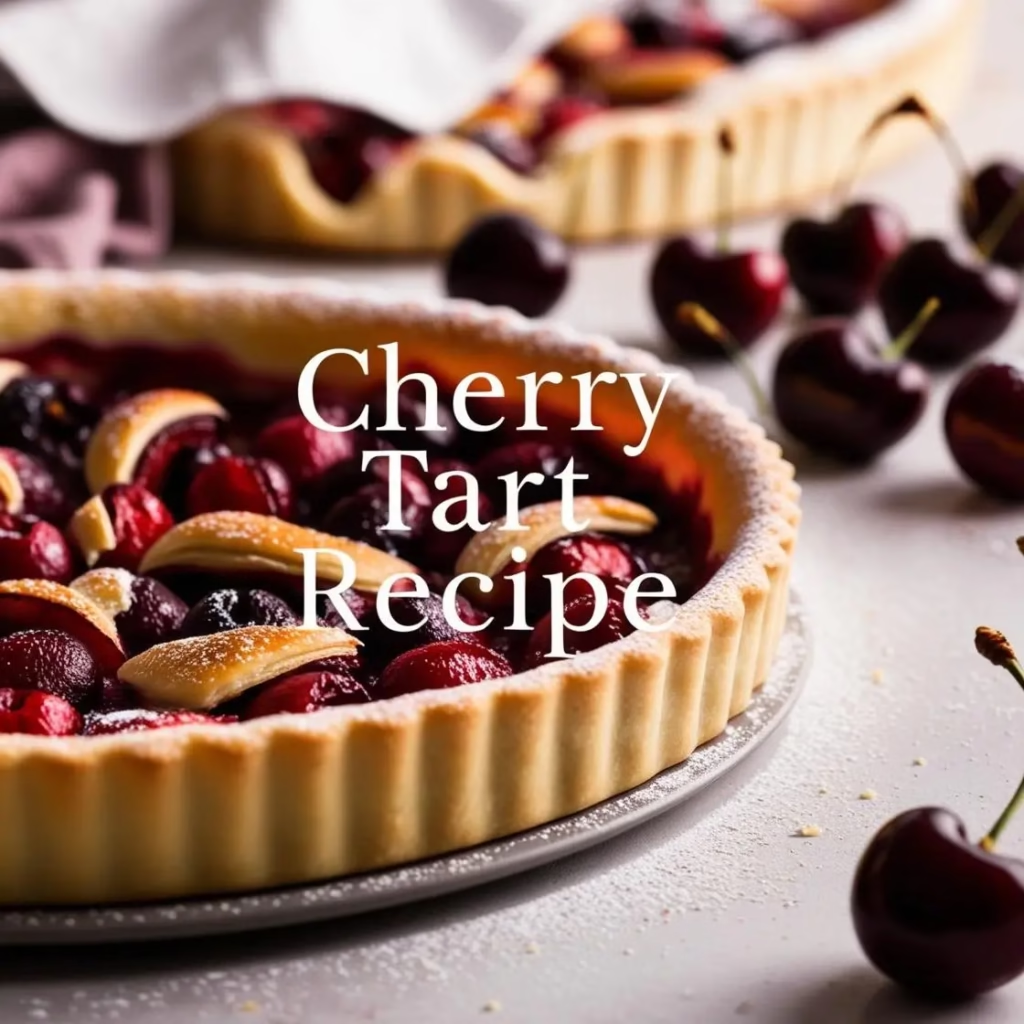
The magic of this tart lies in its unconventional approach to crust-making. Unlike traditional methods that demand refrigeration and careful rolling, this technique uses melted butter and a press-in method that transforms your tart-making experience. The crust develops a wonderful sandy texture that perfectly complements the luscious filling.
As for the stars of our show—fresh cherries bring incomparable flavor to this dessert. Their natural sweetness, punctuated by a slight tartness, creates a complexity that canned varieties simply can’t match. When baked, they release their juices into the creamy filling, creating ruby-hued pockets of intense cherry flavor throughout the tart.
This cherry tart dessert truly showcases why some things are worth the extra effort of pitting fresh cherries. The result is a balance of flavors and textures that will have everyone asking for your secret.
Key Ingredients
For the No-Rest Crust
- Unsalted butter: Using unsalted allows you to control the exact amount of salt in your dessert.
- All-purpose flour: Provides structure without becoming tough.
- Sugar: Just enough to complement the filling without making the crust overly sweet.
- Salt: A small amount enhances all the flavors.
- Ground almonds: Applied after pre-baking, they create a moisture barrier between crust and filling.
For the Creamy Filling
- Eggs: The backbone of our custard-like filling.
- Heavy cream: Creates richness and silky texture.
- Sugar: White or brown both work well, with brown sugar adding caramel notes.
- Vanilla extract: Use real extract rather than imitation for best flavor.
- Cherries: Fresh are ideal, though frozen work with proper thawing and draining.
Note: You can toggle to metric measurements using the button near the ingredients list in the recipe card.
Equipment Needed
For successful tart-making, gather these essentials before starting:
- 9-inch (24cm) tart pan with removable bottom
- Large mixing bowl
- Medium bowl for the filling
- Whisk
- Measuring cups and spoons
- Cherry pitter (trust me, this small investment is worth every penny)
- Rubber spatula
Step by Step Cherry Tart Recipe (Instruction)
The Easy Tart Crust (No-Rest Method)
The cornerstone of this recipe is the unorthodox crust technique. Using melted butter eliminates the need for cutting in cold butter or worrying about overworking the dough. Here’s the process:
- Mix the melted butter with sugar and salt until combined.
- Add flour all at once and stir just until a soft, pliable dough forms.
- Transfer the mixture directly to your 9-inch tart pan—it might seem insufficient at first, but trust me, it’s precisely calculated.
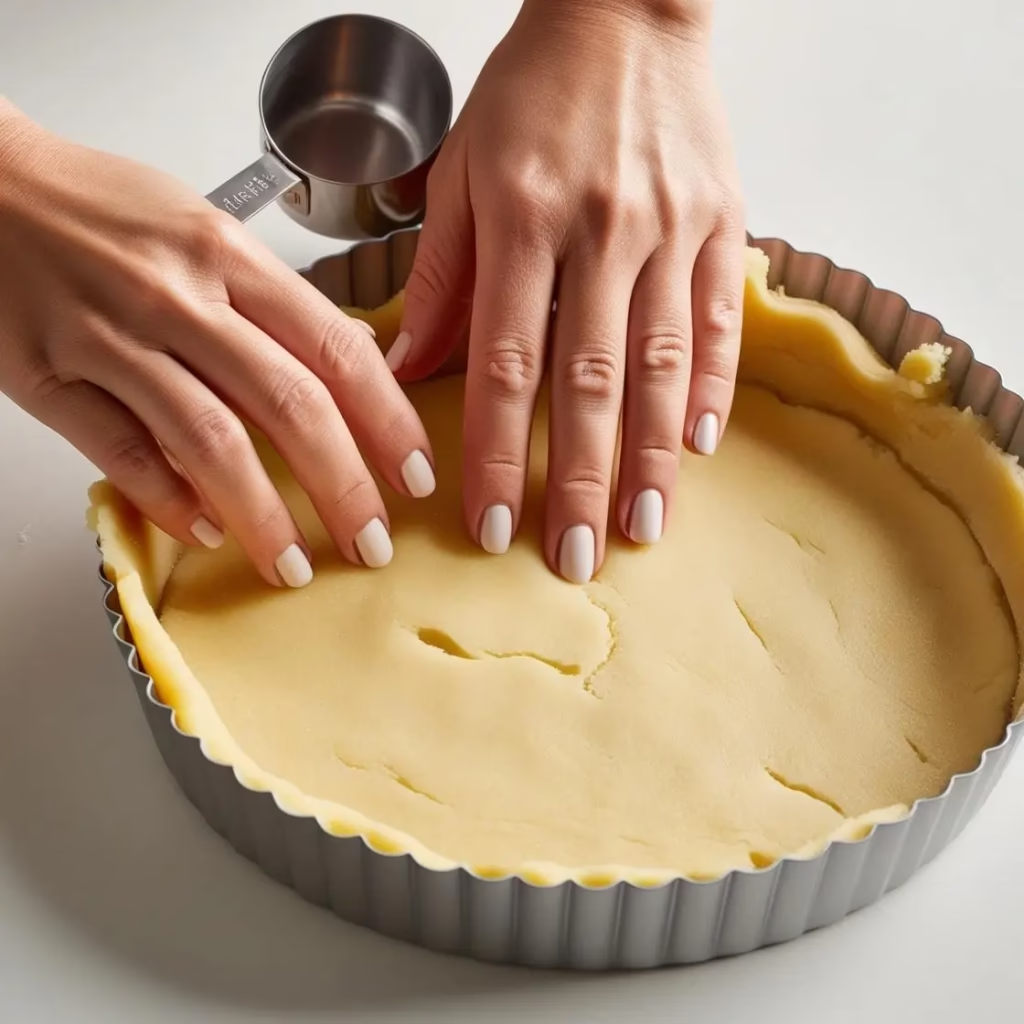
- Press the dough evenly across the bottom and up the sides using your fingertips. Aim for uniform thickness throughout.
- Pre-bake until just turning golden to ensure a crisp foundation for your tart.
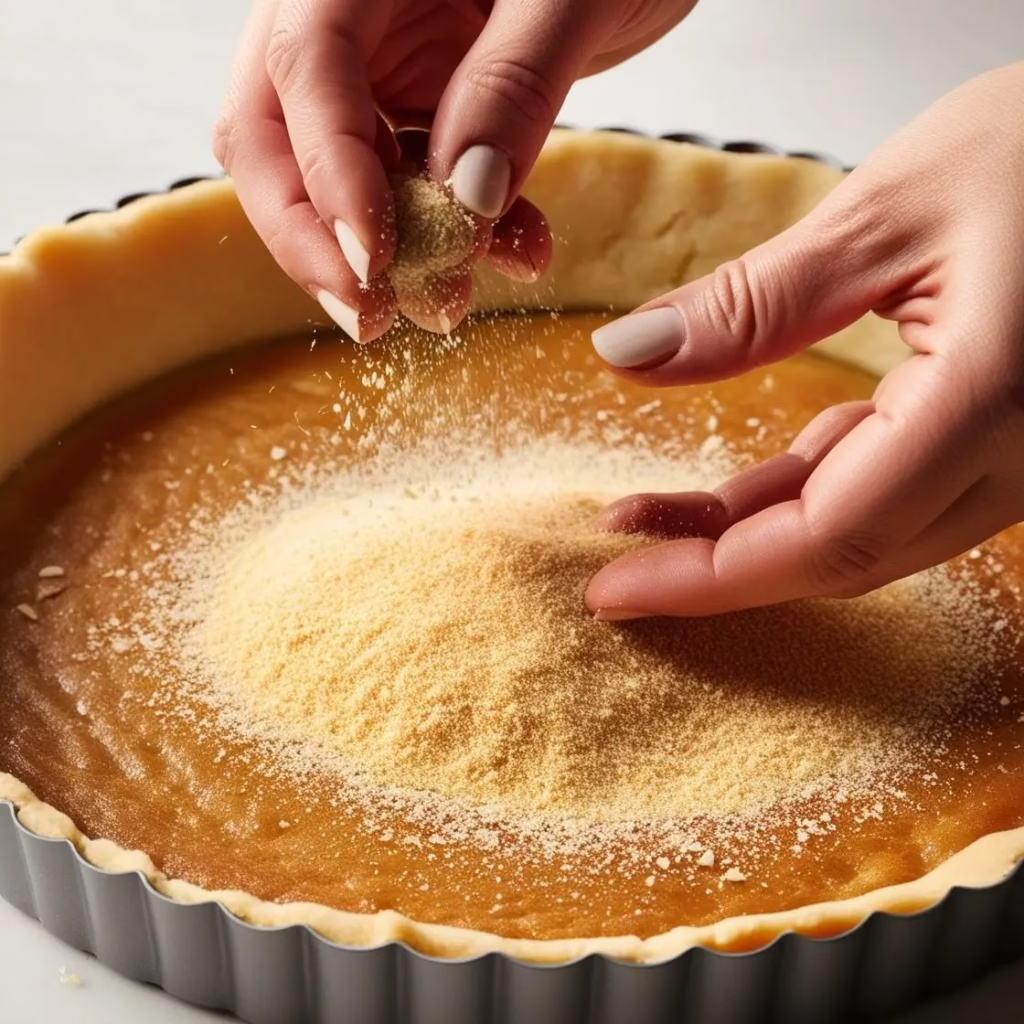
- After pre-baking, immediately sprinkle the ground almonds across the bottom. This critical step creates a barrier that prevents the crust from becoming soggy once filled.
The Cherries (Sweet or Sour)
This recipe truly shines with fresh cherries, though their type can vary according to preference:
Sweet cherries create a dessert with balanced sweetness, perfect for those who enjoy traditional cherry flavor without pronounced tartness.
Sour cherries produce a more complex tart with bright, tangy notes that some bakers actively seek out for their distinctive flavor profile. Many sour cherry desserts require additional sugar, but our creamy filling already provides enough sweetness to complement their natural acidity.
If using frozen cherries, thaw them completely and drain excess liquid to prevent a watery filling. Regardless of which cherries you choose, a dedicated cherry pitter makes preparation infinitely easier. When arranging the cherries, leave small spaces between them rather than creating a tight mosaic—this allows the creamy filling to surround each fruit.
The Vanilla Custard Filling
Unlike traditional custards that require careful stovetop cooking, this filling comes together with remarkable ease:
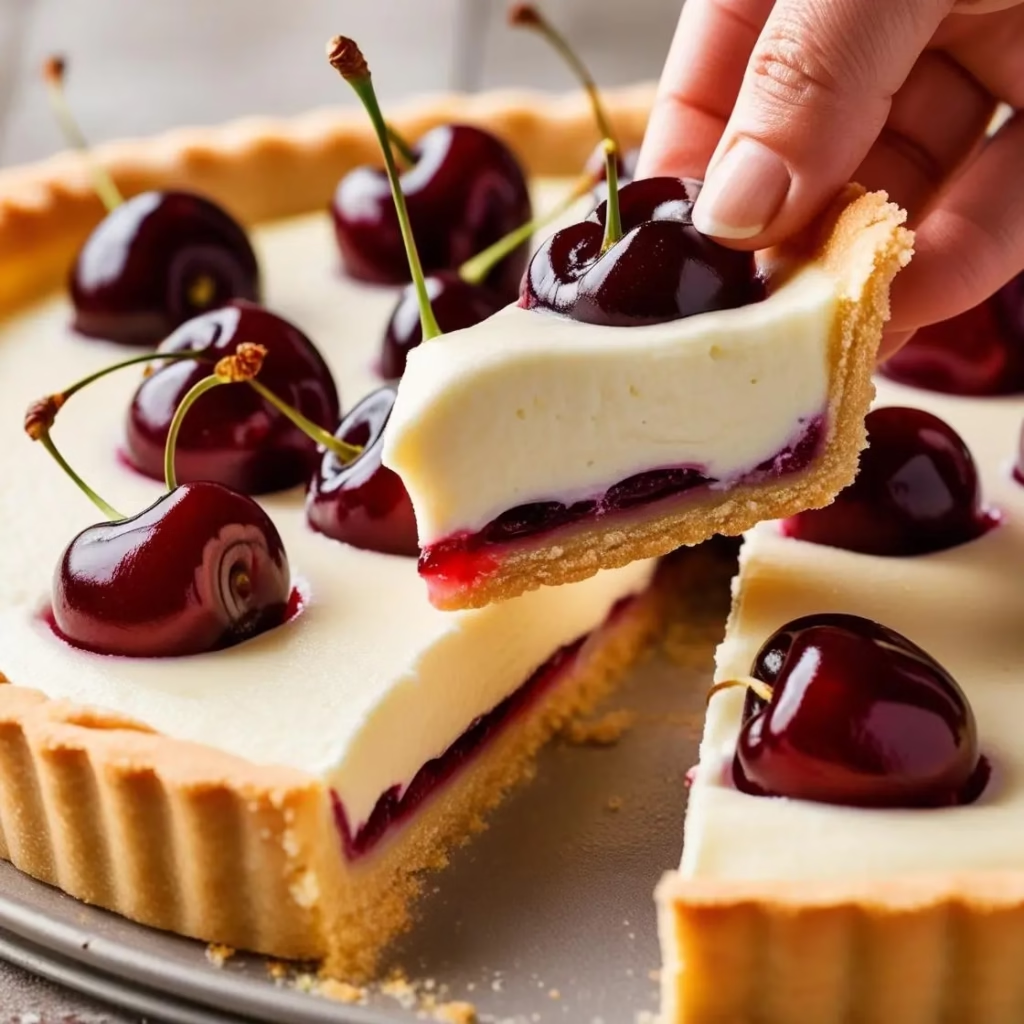
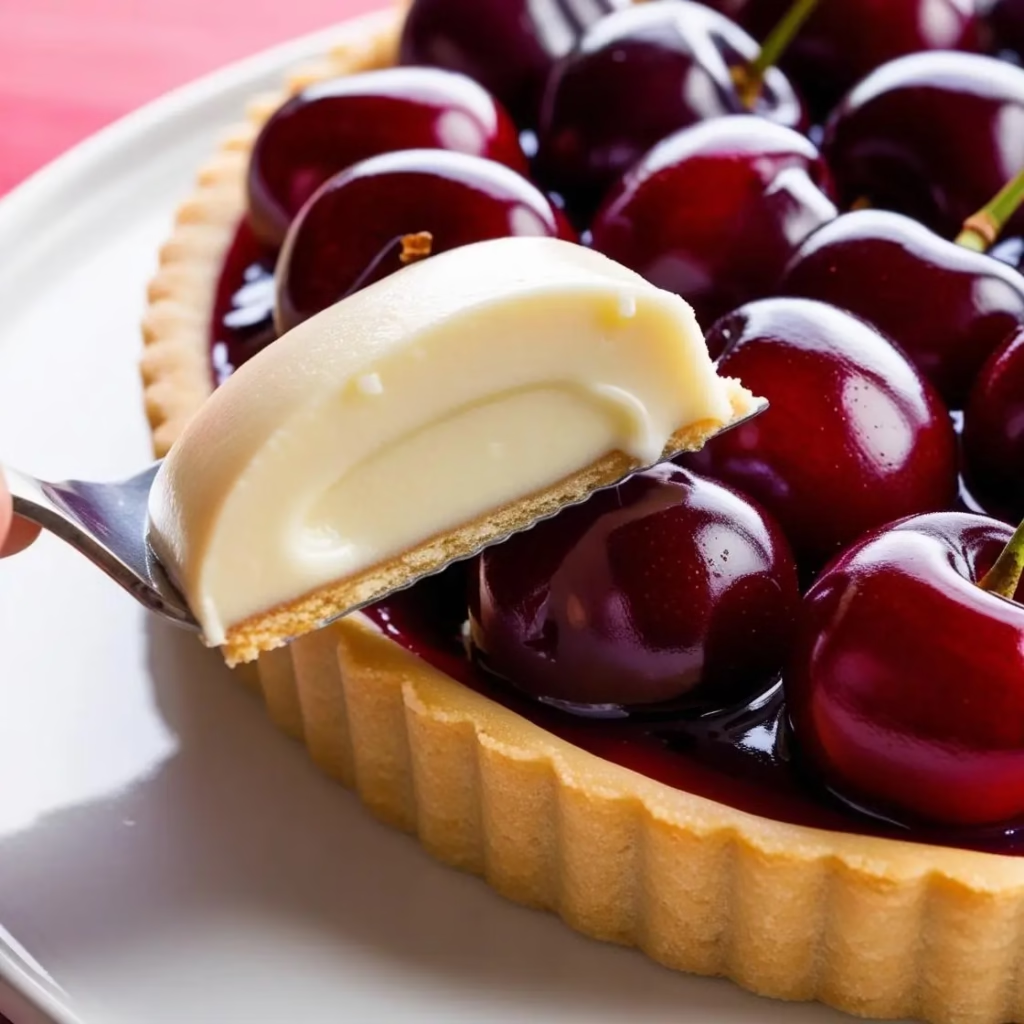
Simply whisk eggs, cream, sugar, and vanilla until smooth. The beauty lies in its simplicity—no tempering eggs or watching for curdling. The proportions are deliberately calculated for our 9-inch tart pan, creating just enough custard to embrace the cherries without overflowing.
The mixture bakes into a dreamy texture that bridges the gap between custard and cream—setting just enough to slice cleanly while maintaining a luxurious mouthfeel that elevates this cherry tart dessert to memorable status.
Assembly and Baking
Once your pre-baked crust is ready and sprinkled with ground almonds:
- Arrange your pitted cherries across the base.
- Carefully pour the custard mixture over the cherries, allowing it to settle naturally around the fruit.
- Bake until the edges are set but the center still has a slight wobble—this is crucial for achieving the perfect texture once cooled.
Resist the temptation to bake until completely firm, as residual heat continues cooking the filling after removal from the oven. The tart will set further as it cools, developing that coveted creamy consistency that makes this dessert so special.
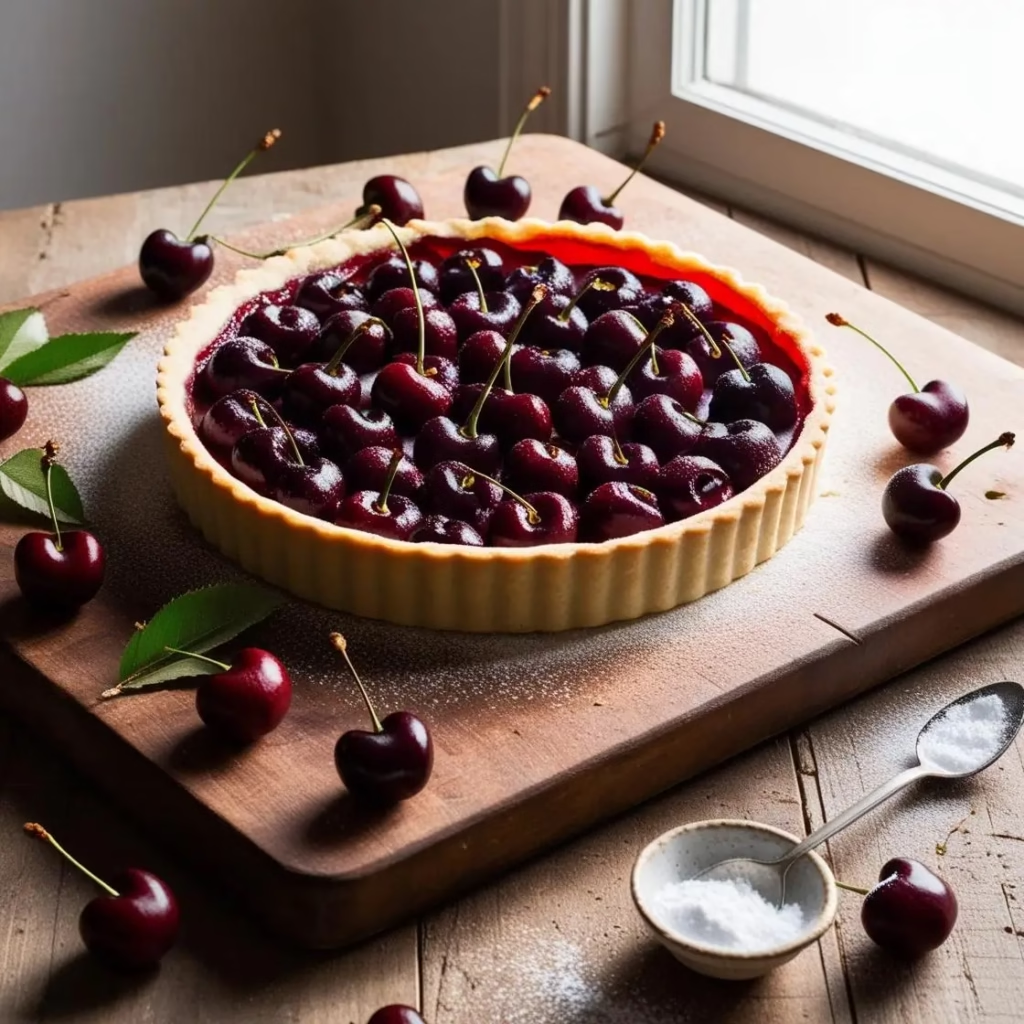
Service and Presentation
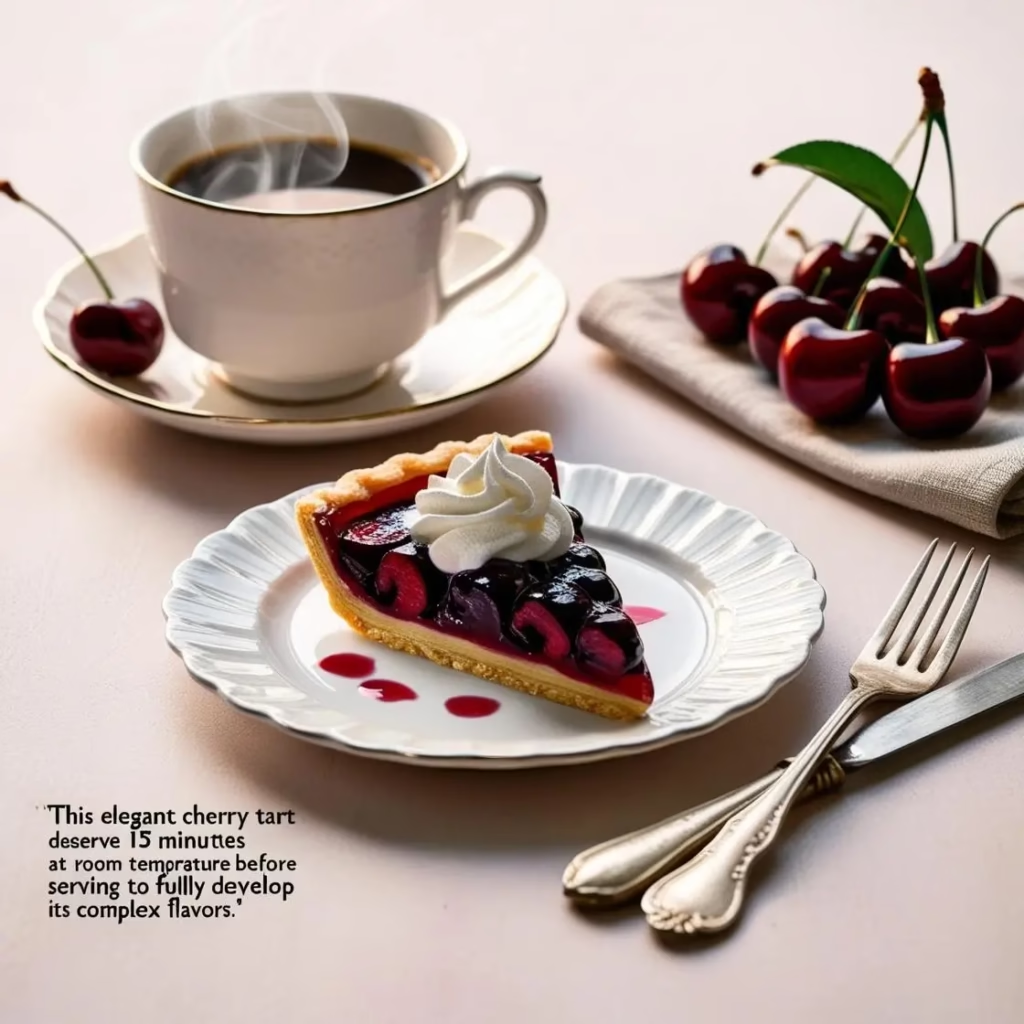
For maximum visual impact, dust your cooled tart with powdered sugar just before serving. Consider garnishing with a few fresh cherries with stems attached for an elegant touch. While delicious on its own, a dollop of whipped cream or a scattering of shaved chocolate elevates this cherry tart to dinner party status.
Always refrigerate the tart for at least two hours before serving to ensure perfect slicing and flavor development. Allow it to sit at room temperature for 15-20 minutes before serving to showcase its complex flavors fully.
Variations & Substitutions
While cherries shine in this recipe, don’t hesitate to experiment with:
- Different fruits: Stone fruits like peaches, plums, or apricots work beautifully. For a mixed berry version, try blueberries, raspberries, or blackberries.
- Flavoring the cream: Add almond extract for a classic pairing with cherries, or try citrus zest for brightness.
- Dietary adjustments: Coconut oil can replace butter for a dairy-free option (though with a slightly different flavor profile).
- Individual tarts: The recipe adapts well to 4-inch tart pans for personal servings—just reduce the baking time by about 5-7 minutes.
If you’re working with particularly tart cherries, this recipe still shines! Sour cherry desserts have their own dedicated following, and this adaptable base works wonderfully for creating memorable tart cherry recipes with minimal additional sugar.
Essential Tips for Perfect Results
First and foremost, take a few minutes to read through the entire recipe before starting. This simple step will help you understand the flow and prepare your workspace accordingly.
In addition to proper preparation, consider these baker’s insights:
- Room temperature ingredients blend more smoothly, especially eggs. Simply place cold eggs in warm water for 5 minutes if you’re short on time.
- Don’t rush the cooling process under any circumstances. The filling needs this time to set properly—patience yields perfect texture.
- When pressing the crust, use the flat bottom of a measuring cup after initial finger-pressing to create an even, professional-looking base.
- Position your oven rack in the middle position before preheating to ensure even heat distribution.
- A light-colored metal tart pan conducts heat most reliably for this recipe; dark pans may cause over-browning.
Furthermore, don’t worry if your crust appears slightly crumbly when pressing into the pan—this texture creates that perfect sandy finish once baked.
Frequently Asked Questions
Can I make this tart a day ahead?
Absolutely! In fact, this cherry tart often tastes even better the next day as the flavors have time to meld. Simply cover with plastic wrap after it has completely cooled and refrigerate.
How long does this cherry tart keep?
When properly stored in the refrigerator, this tart remains delicious for up to 3 days, although the crust will gradually soften over time.
Can I freeze this tart?
Unfortunately, freezing isn’t recommended as the custard filling can separate upon thawing, affecting both texture and appearance.
What if I don’t have a tart pan with removable bottom?
Although a removable-bottom pan makes serving much easier, you can use a regular pie plate in a pinch. However, be prepared for slightly messier slices when serving.
Do I need to grease my tart pan?
Interestingly, this crust recipe contains enough butter that no additional greasing is necessary—yet another time-saving benefit!
What if my cherries are extremely juicy?
In that case, toss them with 1 tablespoon of cornstarch before arranging in the crust to help absorb excess moisture during baking.
Other recipe you will liked
- Hawaiian Roll French Toast
- Sweet Potato Pie
- Condensed Milk Bread
- Berry Crumble
- Blackberry Cheesecake
Without a doubt, this Easiest Cherry Tart with its innovative no-rest crust represents the perfect balance between elegant presentation and practical preparation. By eliminating the traditional pastry hurdles, this recipe opens the door to confident tart-making for bakers of all experience levels.
Most importantly, the combination of buttery, sandy crust with creamy vanilla custard and juicy cherries creates a dessert that tastes professionally crafted yet maintains homemade charm. The method may be unconventional, but the results speak for themselves through clean plates and requests for seconds.
Overall, this cherry tart has become a signature in my baking repertoire—requested at family gatherings and praised for its perfect balance of simplicity and sophistication. The no-rest crust method transforms what could be an all-day project into an accessible dessert that never fails to impress.
I hope you’ll give this recipe a try and discover for yourself why sometimes the easiest methods yield the most memorable results. Meanwhile, I’d love to hear what cherry desserts hold special memories for you! Please share your stories and any questions in the comments below.
What cherry desserts hold special memories for you? I’d love to hear your stories and answer any questions in the comments below!

Easiest Cherry Tart Recipe – Vintage Kitchen Notes
Description
Discover the secret to a perfect cherry tart with our revolutionary no-rest crust method. This easy cherry tart recipe features fresh cherries nestled in creamy vanilla custard – no rolling pin required!
Ingredients
For the No-Rest Crust
For the Creamy Vanilla Filling
Instructions
- Preheat your oven to 350°F (180°C).
- In a large bowl, combine melted butter, sugar, and salt. Stir until sugar is mostly dissolved.
- Add flour all at once and mix just until a soft dough forms. Don’t overmix.
- Transfer the dough to a 9-inch (24cm) tart pan with removable bottom.
- Using your fingertips, press the dough evenly across the bottom and up the sides of the pan. For a more even finish, use the bottom of a measuring cup to press the dough firmly.
- Prick the bottom several times with a fork.
- Bake for 15 minutes until the crust is just beginning to turn golden at the edges.
- Remove from oven and immediately sprinkle ground almonds evenly over the bottom of the crust. This creates a moisture barrier.
- While the crust is pre-baking, pit the cherries if not already done.
- In a medium bowl, whisk together eggs, sugar, and vanilla until well combined.
- Whisk in the heavy cream until the mixture is smooth.
- Arrange the pitted cherries evenly over the almond-sprinkled crust, leaving small spaces between them.
- Carefully pour the cream mixture over the cherries.
- Return to the oven and bake for 25-30 minutes, or until the edges are set but the center still has a slight wobble when the pan is gently shaken.
- Remove from oven and cool completely on a wire rack.
- Refrigerate for at least 2 hours before serving.
- Just before serving, dust with powdered sugar if desired.
For the No-Rest Crust:
For the Filling and Assembly:
Notes
- Critical cooling tip: Do not rush the cooling process. The tart needs at least 2 hours in the refrigerator to set properly.
Cherry options: Both sweet and sour cherries work well. If using frozen cherries, thaw completely and drain excess liquid before using.
Make ahead: This tart can be made a day in advance and stored in the refrigerator. Remove from refrigerator 15-20 minutes before serving for best flavor.
Storage: Keep refrigerated for up to 3 days.
For perfect slicing: Use a sharp knife dipped in hot water and wiped clean between cuts.