
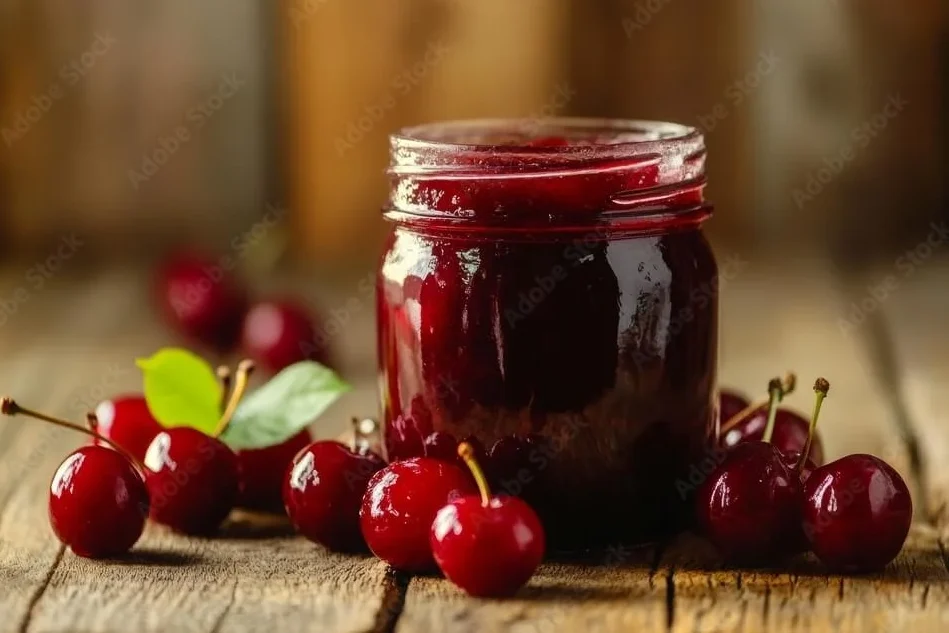
There’s something profoundly satisfying about transforming ripe, juicy cherries into rich, glossy preserves that capture summer’s essence in a jar. Whether you’re a seasoned preserver or a curious beginner, creating your own cherry preserves is a rewarding process that yields delicious results for months to come.
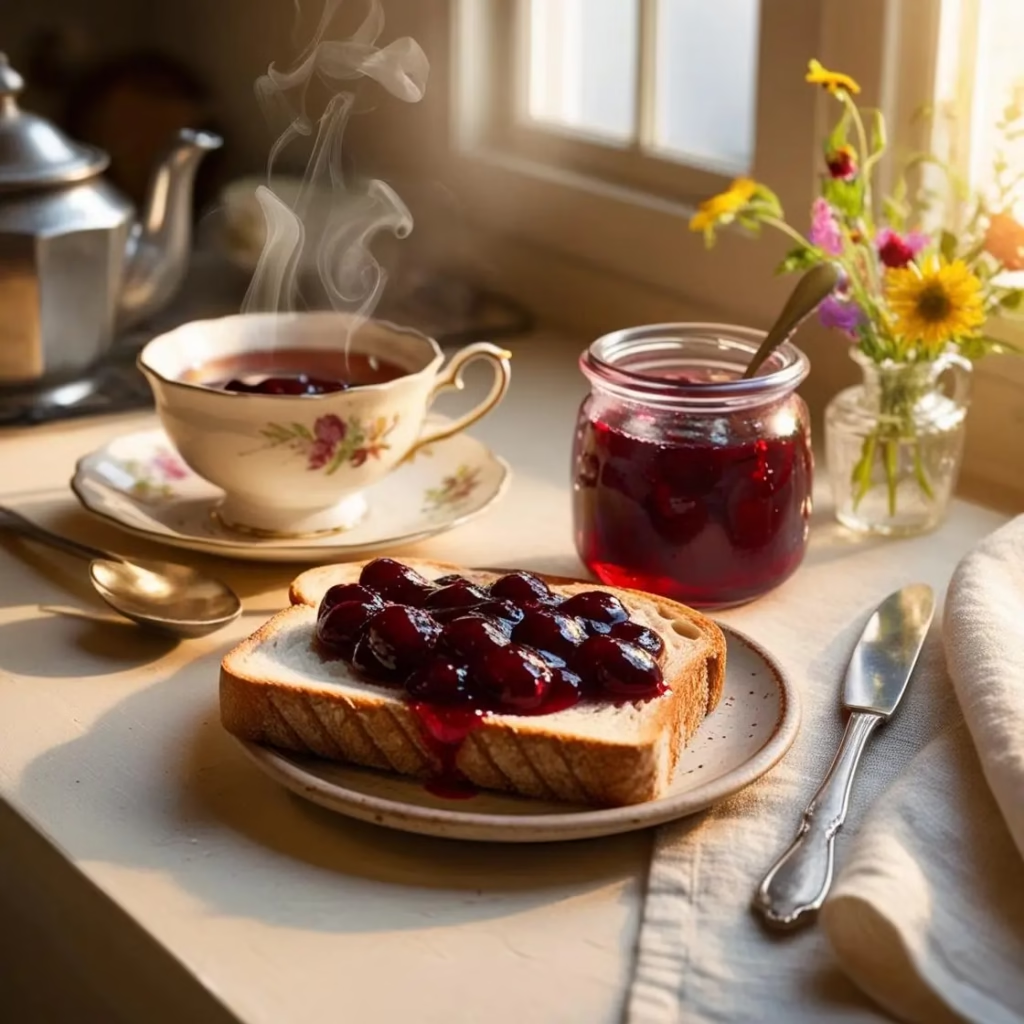
Store-bought jams can’t compare to homemade preserves. When you create your own cherry preserves, you control the sweetness, texture, and ingredients. Plus, there’s the immense satisfaction of spreading your own creation onto warm toast or gifting a beautifully labeled jar to friends and family.
Cherry season is fleeting, but properly preserved cherries allow you to enjoy their vibrant flavor long after summer fades. From traditional preserves to quick freezer jam options, I’ll guide you through various techniques to make the most of your cherry harvest.
Table of Content
What Is Cherry Preserves and Why Should You Make It
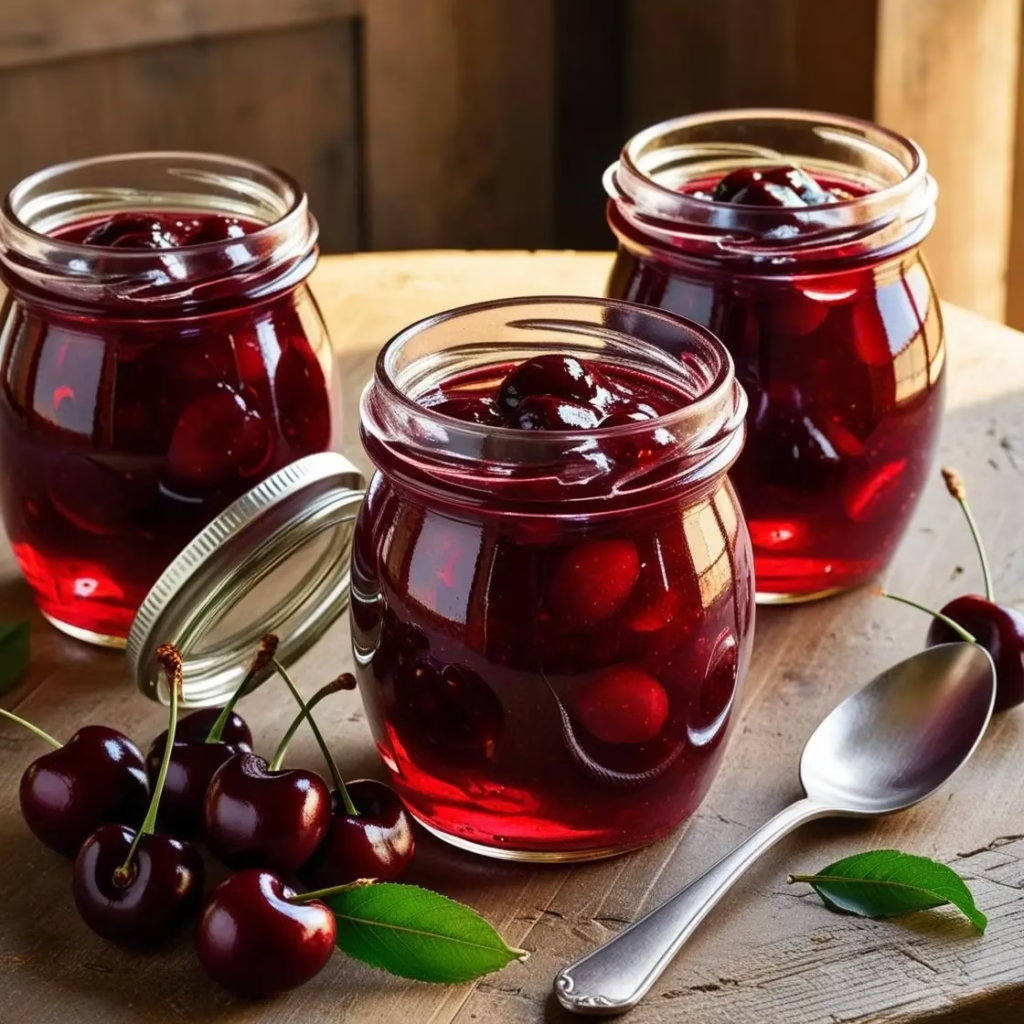
Unlike smooth jellies (made from strained juice) or jams (made from crushed fruit), preserves celebrate the fruit in larger, identifiable pieces suspended in a flavorful, thick syrup. This texture offers an experience closer to enjoying fresh cherries, with satisfying chunks of fruit in every spoonful.
Making cherry preserves at home gives you complete control over what goes into each jar. You can reduce sugar levels, customize flavor profiles, and avoid the high-fructose corn syrup, artificial colors, and preservatives common in commercial products. For those watching their budgets, creating preserves during cherry season means capturing premium fruit at its most affordable price point.
Many traditional recipes call for commercial pectin, but cherry jam without pectin is entirely possible—and some would argue preferable—as cherries contain natural pectin that, when properly cooked, creates a perfect consistency without additives.
Cherry Preserves Recipe Ingredients: What You’ll Need (Ingredients )
The Stars of the Show
- Cherries: Sweet varieties like Bing or Rainier yield naturally sweeter preserves, while sour cherries like Montmorency create a more complex flavor profile. For balanced results, consider a 3:1 ratio of sweet to sour.
- Sugar: Typically, use 3/4 cup sugar per pound of cherries—adjust to taste and fruit sweetness.
- Lemon juice: Two tablespoons per pound of cherries brightens flavor and provides natural pectin for thickening while maintaining safe acidity levels for preservation.
- Optional flavor enhancers: Consider 1/2 teaspoon vanilla extract, 1/4 teaspoon almond extract, or a cinnamon stick for complementary flavor notes.
Equipment Essentials
- Mason jars with new lids
- Large, heavy-bottomed pot
- Cherry pitter (a worthwhile investment for serious cherry lovers)
- Wooden spoon (metal can react with fruit acids)
- Canning funnel
- Jar lifter
- Digital thermometer (optional but helpful)
How to Make Quick and Easy Cherry Preserves at Home
Preparation (30 minutes)
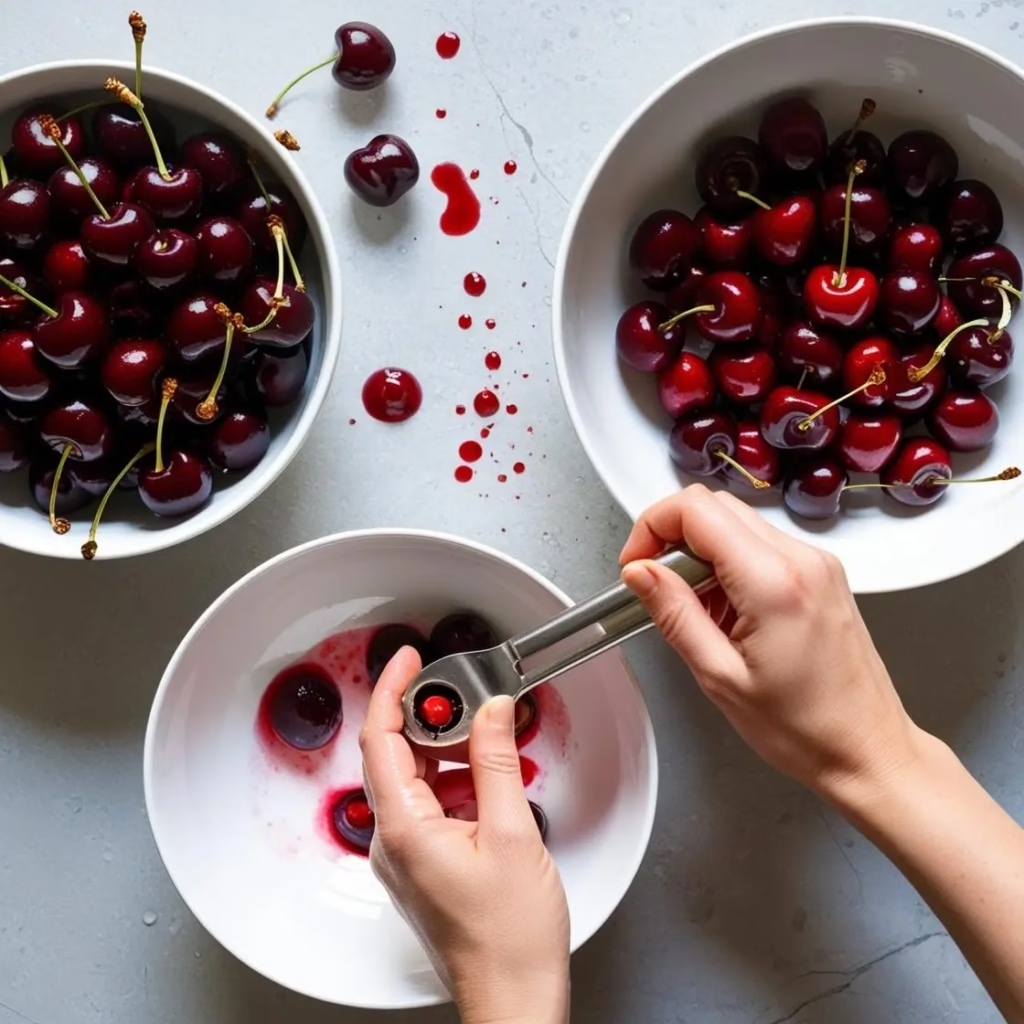
- Wash cherries thoroughly under cool running water.
- Remove stems and pits with a cherry pitter.
- Decide whether to leave cherries whole (for rustic preserves), halve them (traditional), or chop coarsely (for more evenly distributed fruit).
- Sterilize jars and lids by washing in hot, soapy water and keeping warm until ready to fill.
Traditional Method (45-60 minutes cooking)
- Combine cherries, sugar, and lemon juice in your pot.
- Let stand 15-20 minutes until juices begin to release.
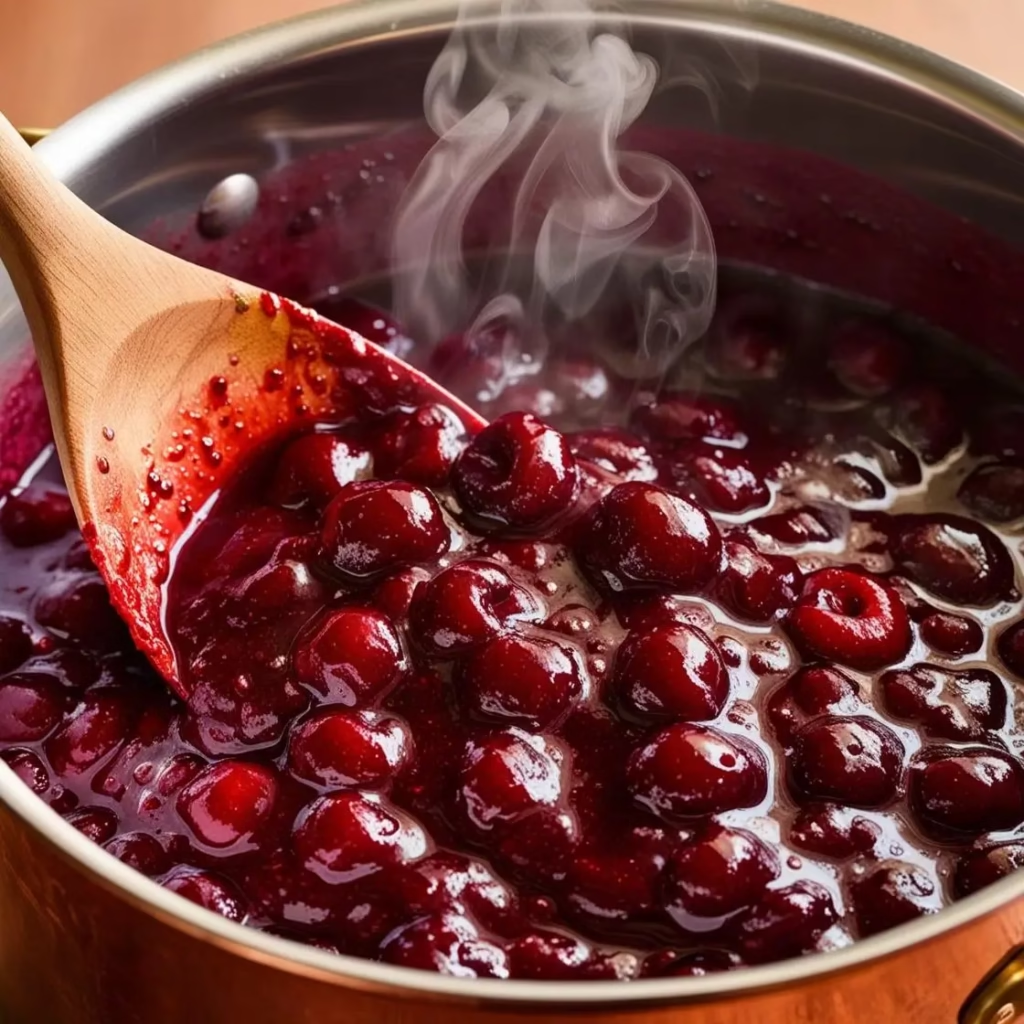
- Bring to a boil over medium-high heat, stirring occasionally to prevent sticking.
- Reduce heat to maintain a gentle boil; cook until mixture thickens, about 30-45 minutes.
- Test readiness by placing a small amount on a frozen plate—it should wrinkle when pushed with your finger and not run freely.
- Alternatively, use a thermometer to reach 220°F (104°C), the setting point for preserves.
Quick Method (25-30 minutes cooking)
For busy cooks, increase the surface area for faster evaporation by using a wider pan and slightly higher heat. Stir more frequently to prevent scorching and reduce cooking time by approximately 15 minutes.
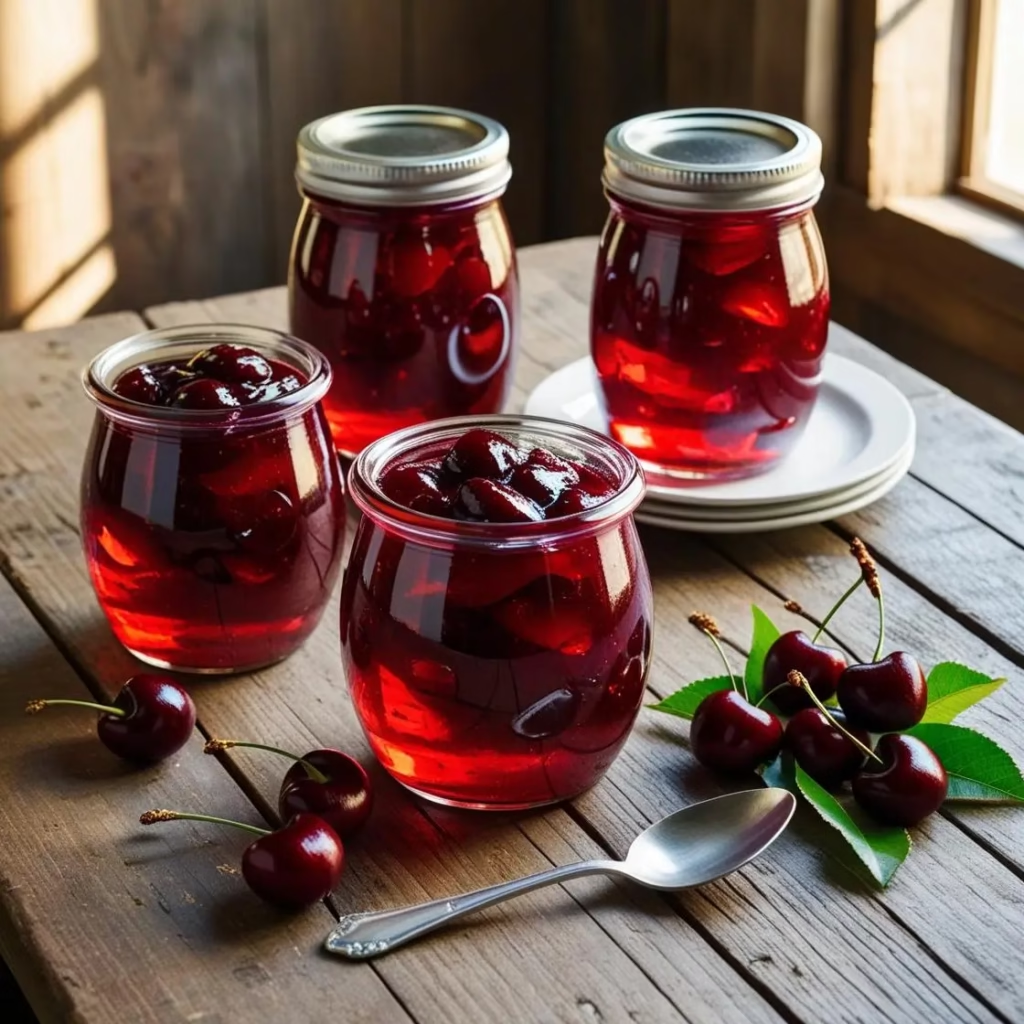
Jarring
- Ladle hot preserves into warm jars, leaving 1/4-inch headspace.
- Wipe rims clean with a damp cloth.
- Apply lids and screw bands until fingertip tight.
- Process filled jars in a boiling water bath for 10 minutes.
- Remove and let cool undisturbed for 24 hours.
Creative Ways to Use Cherry Preserves in Recipes
Your homemade cherry preserves extend far beyond morning toast:
Sweet Applications
- Swirl through vanilla ice cream for an instant cherry garcia effect
- Use as filling between cake layers or spread under a layer of dark chocolate ganache
- Dollop atop cheesecake or panna cotta
- Mix into overnight oats with toasted almonds
Savory Transformations
- Glaze duck breasts or pork tenderloin during the final minutes of cooking
- Combine with balsamic vinegar, olive oil, and fresh herbs for a fruity vinaigrette
- Serve alongside aged cheeses like manchego or sharp cheddar on a charcuterie board
- Mix with chipotle peppers to create a spicy-sweet BBQ sauce
Beverage Inspirations
- Stir into hot black tea with a cinnamon stick
- Spoon into the bottom of a champagne flute and top with prosecco
- Blend with vodka and fresh lime for a cherry Moscow mule variation
Tips for Cherry Preserves Success
- If preserves seem runny: Continue cooking until the mixture thickens or add 1 tablespoon chia seeds per cup of preserves as a natural thickener.
- To prevent crystallization: Add 1 tablespoon corn syrup or honey per pound of cherries.
- For deeper flavor: Roast cherries at 400°F for 15 minutes before making preserves.
- Time-saving hack: Freeze pitted cherries during peak season, then make preserves in smaller batches year-round.
- For smoother texture: Pulse half the cherry mixture in a food processor before cooking.
Storage and Shelf Life
Properly processed jars of cherry preserves will maintain quality for 18-24 months in a cool, dark pantry. Once opened, refrigerate and use within three weeks. For those skipping traditional canning, refrigerator preserves keep for 2-3 weeks, while freezer preserves last up to a year.
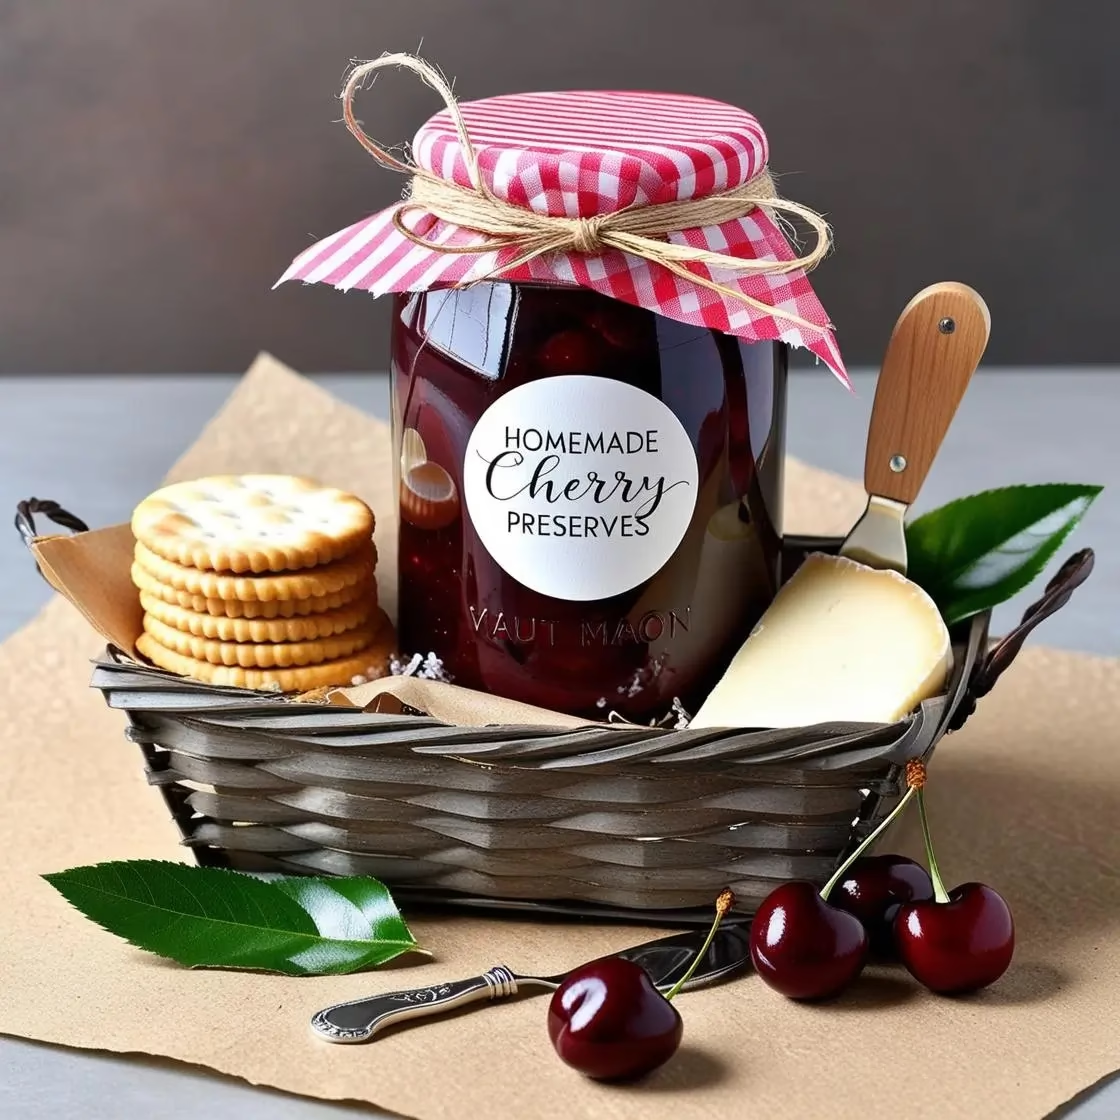
When giving as gifts, consider decorative fabric lid covers, custom labels, or pairing with artisanal bread or scones for a thoughtful presentation.
Nutrition Information
Calories: 48
Carbohydrates: 12g
Protein: 0.2g
Fat: 0.1g
Fiber: 0.3g
Other Recipe For You

Homemade cherry preserves capture summer’s essence in a jar—ready to brighten winter breakfasts or elevate year-round recipes. The process connects us to culinary traditions while allowing modern adaptations for today’s tastes and dietary preferences.
Don’t hesitate to experiment with different cherry varieties and complementary flavors. When the season’s cherries arrive in their brief glory, remember that preserving isn’t just about extending shelf life—it’s about extending joy.
Have you made cherry preserves? Share your favorite variations or serving suggestions in the comments below!
How to Make the Best Cherry Preserves Recipe: A Step-by-Step Guide
Description
This homemade cherry preserves recipe transforms fresh summer cherries into delicious, versatile preserves without commercial pectin. Learn the difference between jams, jellies, and preserves while mastering simple techniques for capturing cherry season’s best flavors in jars that last all year. Includes traditional and quick methods, creative serving ideas, and troubleshooting tips.
Ingredients
Instructions
- Prepare cherries by washing, stemming, and pitting. Leave whole or cut in half as preferred.
- In a large, heavy-bottomed pot, combine cherries, sugar, and lemon juice. Stir well and let stand for 15-20 minutes until juices begin to release.
- Bring mixture to a boil over medium-high heat, stirring frequently to prevent sticking.
- Reduce heat to maintain a gentle boil and cook, stirring occasionally, until mixture thickens and reaches 220°F (104°C) on a candy thermometer, about 30-45 minutes.
- Add vanilla and almond extracts during the last 5 minutes of cooking if using.
- Test readiness by placing a small amount on a frozen plate—it should wrinkle when pushed with your finger.
- Ladle hot preserves into sterilized jars, leaving 1/4-inch headspace.
- Wipe jar rims clean, apply lids and bands, and process in a boiling water bath for 10 minutes.
- Remove jars and let cool undisturbed for 24 hours before checking seals.
- Store properly sealed jars in a cool, dark place for up to 24 months. Refrigerate after opening.
Notes
- If preserves seem runny: Continue cooking until the mixture thickens or add 1 tablespoon chia seeds per cup of preserves as a natural thickener.
To prevent crystallization: Add 1 tablespoon corn syrup or honey per pound of cherries.
For deeper flavor: Roast cherries at 400°F for 15 minutes before making preserves.
Time-saving hack: Freeze pitted cherries during peak season, then make preserves in smaller batches year-round.
For smoother texture: Pulse half the cherry mixture in a food processor before cooking.