
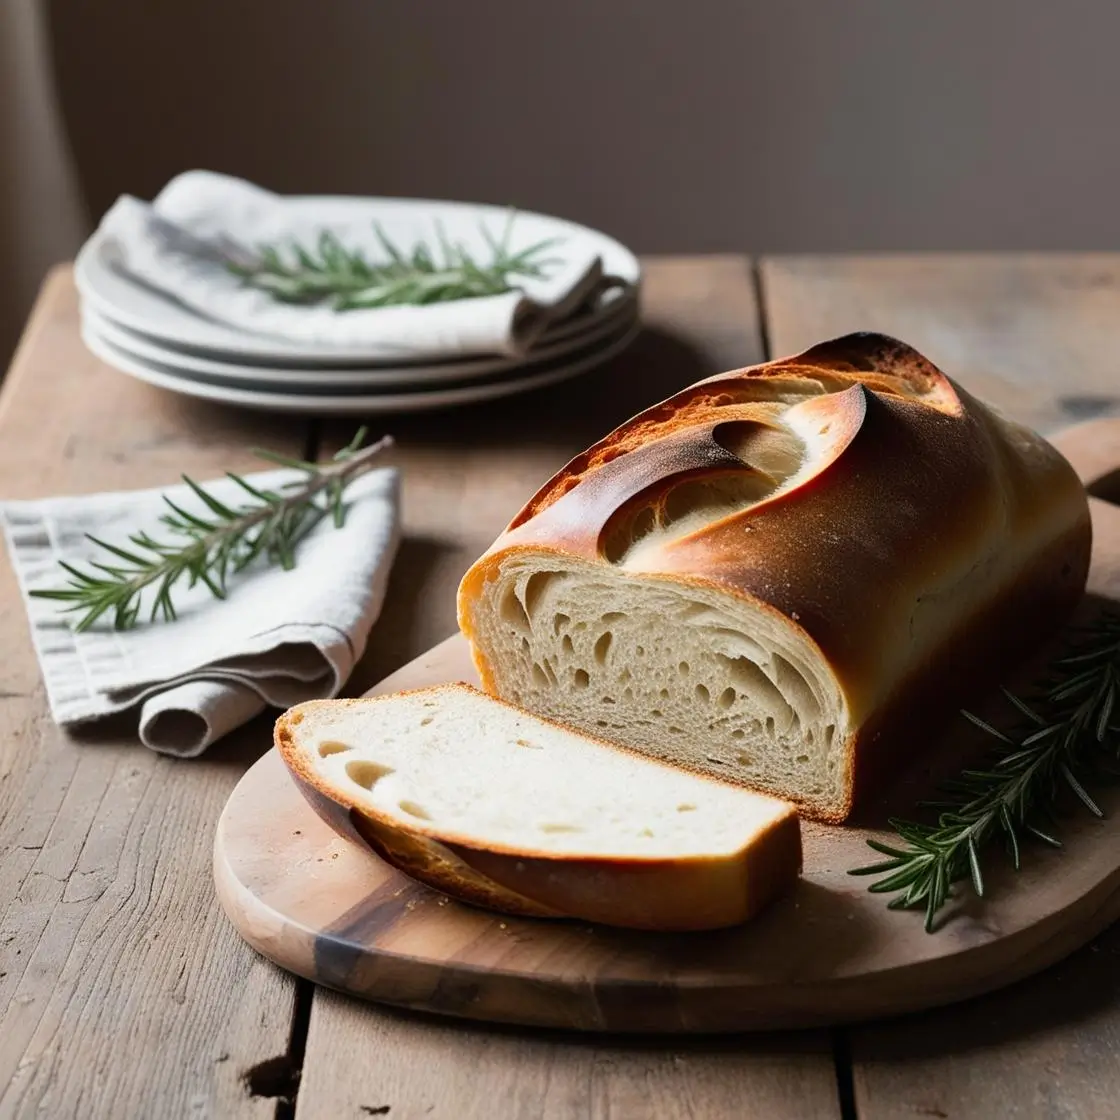
Creating authentic Crusty Italian Bread Recipe at home might seem daunting, but with the right ingredients and techniques, you can achieve bakery-quality results in your own kitchen. This comprehensive guide will walk you through crafting the perfect crusty Italian bread, complete with expert tips and variations.
If you want to know more about Crusty Italian Bread Recipe
Table of Contents
- Understanding Your Ingredients
- Essential Techniques and Variations
- Step-by-Step Preparation
- Professional Tips for Success
- Storage and Make-Ahead Tips
- Beyond Basic Crusty Italian Bread Recipe

Understanding Your Ingredients
The secret to exceptional Crusty Italian Bread Recipe lies in the quality and proper handling of just five simple ingredients. Let’s explore why each component matters:
Flour Selection
Professional bakers prefer bread flour for its higher protein content, which develops superior gluten structure and creates that coveted chewy texture. While all-purpose flour can work in a pinch, bread flour will give you more consistent results. For precise measurements, use a kitchen scale rather than cups. Start with 3½ cups of flour, adding more only if needed – remember, a slightly sticky dough is better than one that’s too dry.
The Role of Yeast
Active dry yeast needs proper activation in warm water (around 110°F) until it becomes foamy. This temperature sweet spot is crucial – too hot will kill the yeast, while too cold won’t activate it. A kitchen thermometer can be invaluable here. If you’re using instant yeast, you can skip the activation step and mix it directly with other ingredients, which also speeds up the rising process.
Water Temperature Matters
The importance of proper water temperature cannot be overstated. Aim for 110°F – warm enough to activate the yeast but not so hot it kills it. If you don’t have a thermometer, use the wrist test: the water should feel warm but not hot against your inner wrist.
Salt Selection
Fine sea salt is ideal for bread making, offering both precise measurement and clean flavor. If kosher salt is your only option, reduce the quantity slightly. Avoid iodized table salt, as it can impart an off-flavor to your bread.
Quality Olive Oil
Extra virgin olive oil adds depth and character to your bread. While regular olive oil can work, the superior flavor of extra virgin makes a noticeable difference in the final product.

Essential Techniques and Variations
Using a Stand Mixer
A stand mixer equipped with a dough hook can streamline the process. Begin mixing at low speed until the dough comes together, then increase to medium for kneading until you achieve a smooth, elastic consistency.
Time-Saving Options
While overnight refrigeration (12-24 hours) develops complex flavors and improves texture, you can skip this step when time is short. The bread will still be delicious, just with a slightly less developed flavor profile.
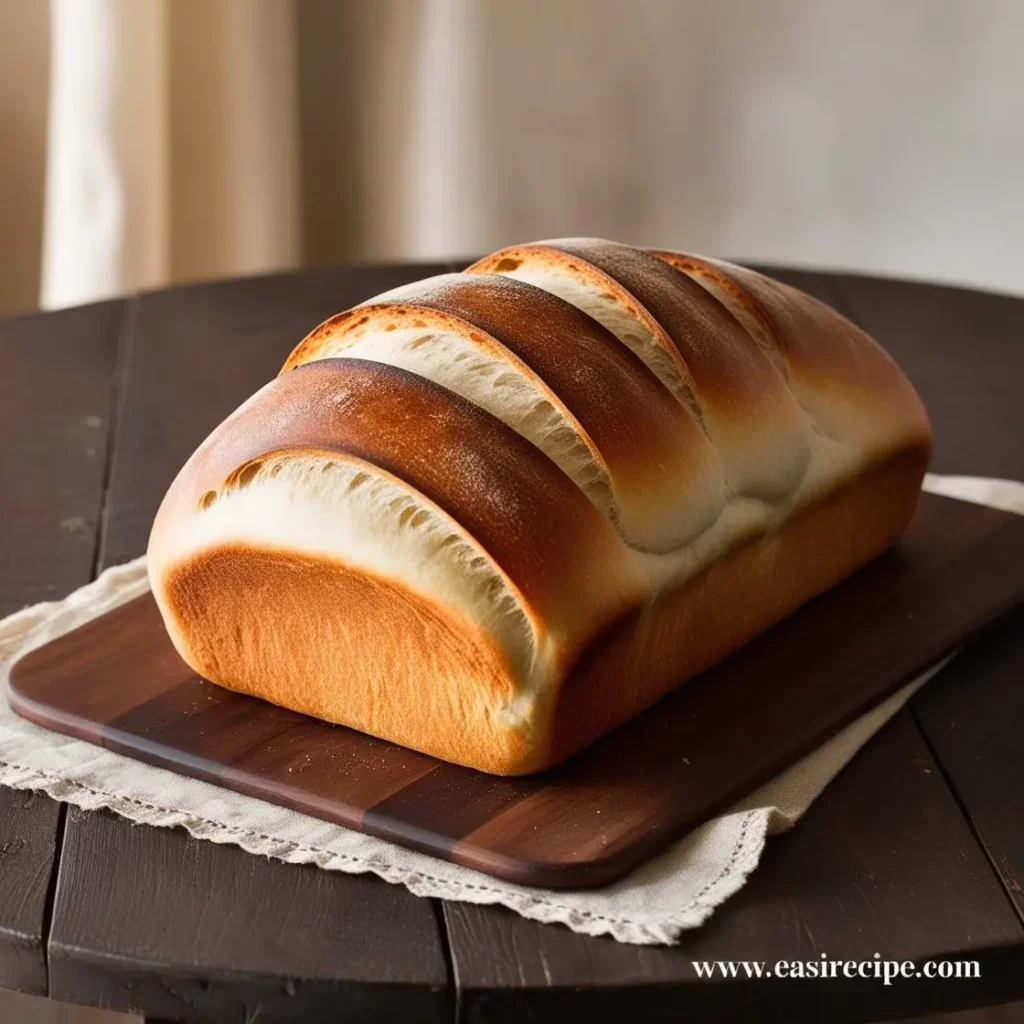
Shaping Possibilities
Don’t feel confined to traditional baguette shapes. This versatile dough works beautifully as round loaves or a single large oval shape, perfect for different serving occasions.
Step-by-Step Preparation
- Begin by activating your yeast in warm water for 5 minutes until foamy.
- Combine your flour, salt, and olive oil, mixing until you have a shaggy dough.
- Knead the dough on a lightly floured surface for 5-7 minutes until smooth and elastic.
- Place in an oiled bowl and cover with plastic wrap. Let rise in a warm spot for 1-2 hours, or refrigerate overnight for enhanced flavor.
- Divide the dough and shape into your preferred form.
- Transfer to a cornmeal-dusted or parchment-lined baking sheet.
- Allow to rise again for 45-60 minutes, then score the top.
- Preheat your oven to 450°F with a cast iron pan on the bottom rack.
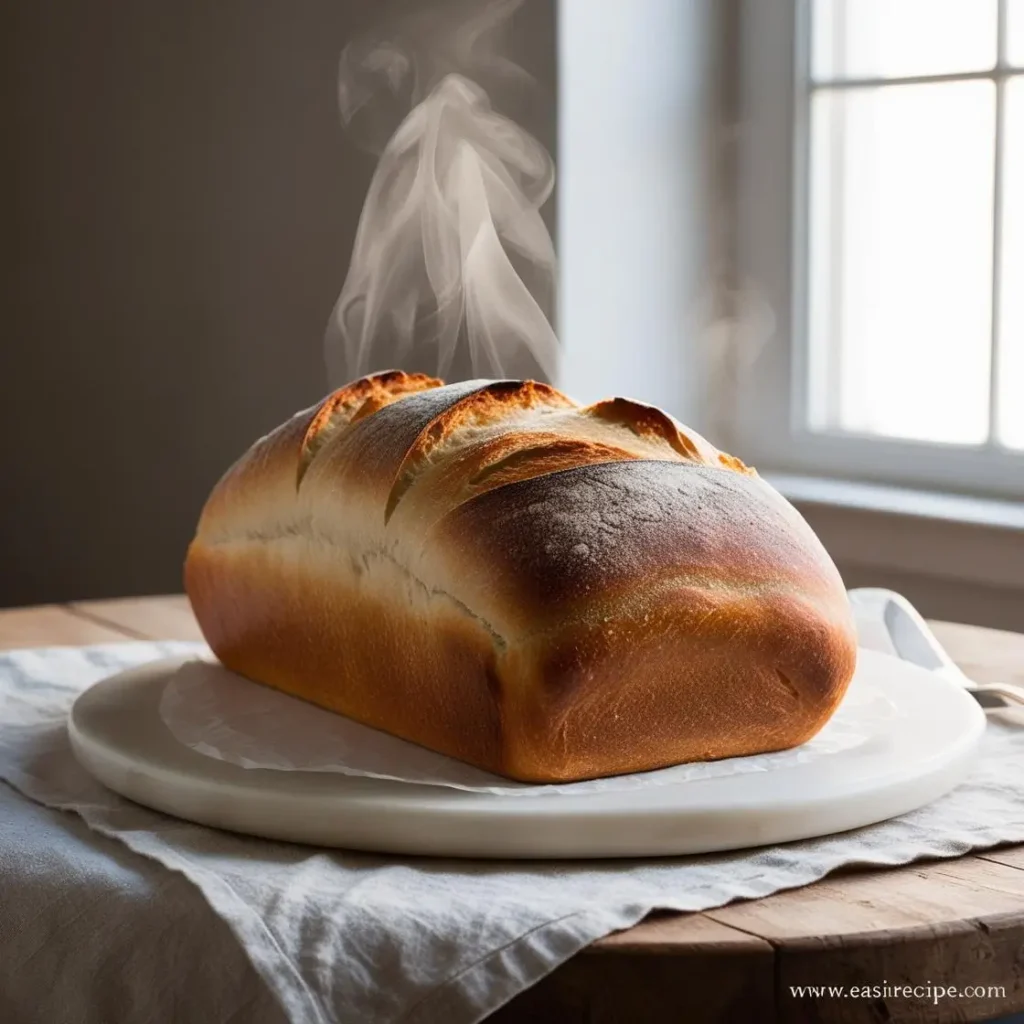
- Create steam by adding water to the hot pan, then bake for 18-20 minutes until golden.
- Cool completely on a wire rack before slicing.
Professional Tips for Success
The difference between good and great bread often lies in the details. Here are some professional insights:
- Resist the urge to add too much flour – a slightly tacky dough produces better bread.
- Test your yeast’s vitality during activation – if it doesn’t foam, start fresh.
- When kneading, look for the « window pane test » – dough should stretch thin enough to see light through without tearing.
- Score the loaves decisively with a sharp blade at a 45-degree angle.
- Steam in the first few minutes of baking is crucial for that professional-quality crust.
- The bread is done when it sounds hollow when tapped on the bottom.
Storage and Make-Ahead Tips
Proper storage is crucial for maintaining your bread’s quality. Fresh bread stays good at room temperature for 1-2 days when properly stored. Once cut, store in a plastic bag to prevent drying. For longer storage, slice and freeze for up to three months, toasting slices as needed.
Beyond Basic Crusty Italian Bread Recipe
Once you’ve mastered this classic recipe, explore variations like:
- Pumpkin Chocolate Chip Bread for a seasonal twist
- Traditional Italian Easter Bread for holidays
- Honey Wheat Bread for everyday sandwiches
- Greek Yogurt Banana Bread for a protein boost
- Braided Pesto Bread for an herbal variation
Creating authentic Crusty Italian Bread Recipe at home is a rewarding experience that connects you to centuries of baking tradition. With these techniques and tips, you’ll be crafting professional-quality loaves that rival any bakery. Remember, practice makes perfect, and each batch teaches you something new about the art of bread making.
mars 17, 2025 at 9:06 pm[…] Crusty Italian Bread […]
avril 29, 2025 at 9:35 am[…] Crusty Italian Bread for luxurious sandwiches […]